The more I was looking over this kit, the less interesting it became. This model is more or less the same as the 350 scale Master Replicas Enterprise. I already have one of those, so why build something that’s just a bigger copy. When I can do so much more with it.
More on that in future posts.
Before I can get to the neat stuff there is a lot to do.
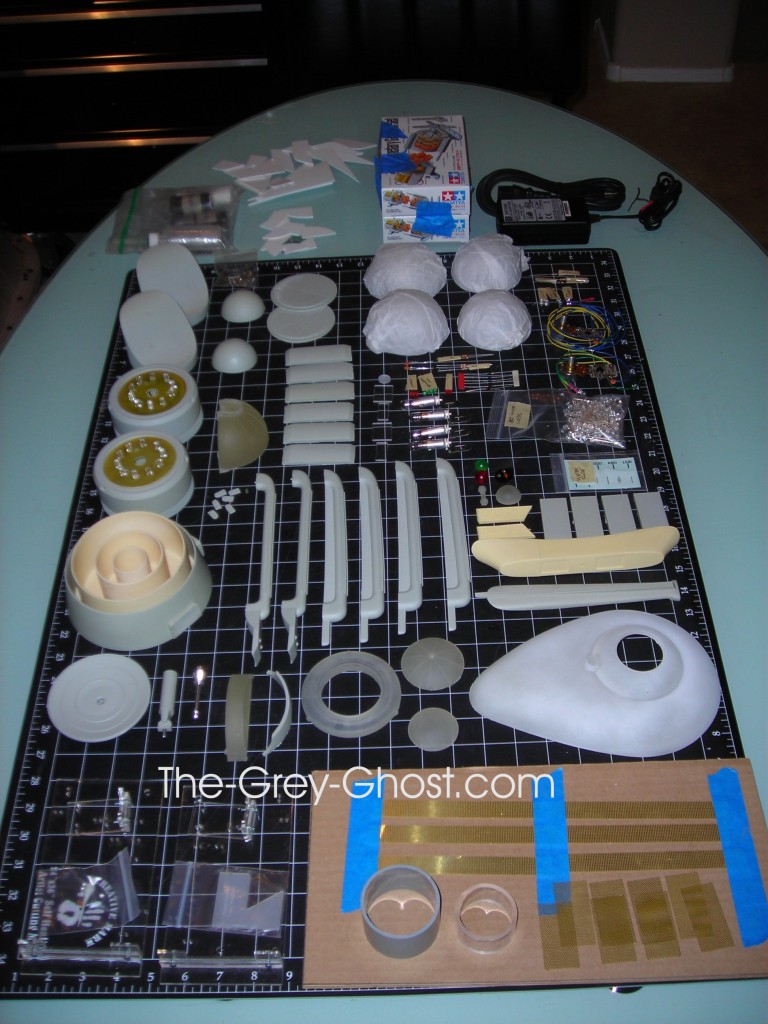
Here is a table of parts, less all of the big pieces. Some stuff is useful some is not.
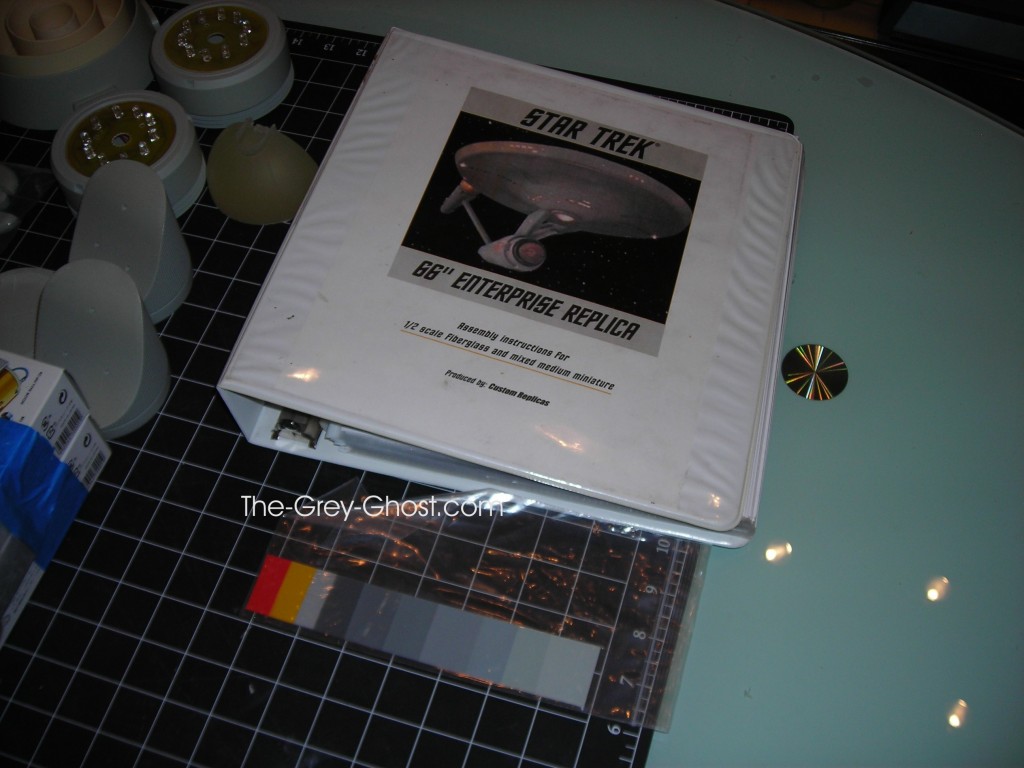
It came with a cd with the instructions and pics. So I made my own manual. It did come with paint swatches, which is very helpful for somebody like me who can’t mix paints to save my life. So I would take the swatches to an auto-body supplier and have them do it. Before you can say I can use them on the Big E, well not exactly. When you scale stuff up(or down) the color has to change. Unless somebody knows if these were taken from original paint chips?
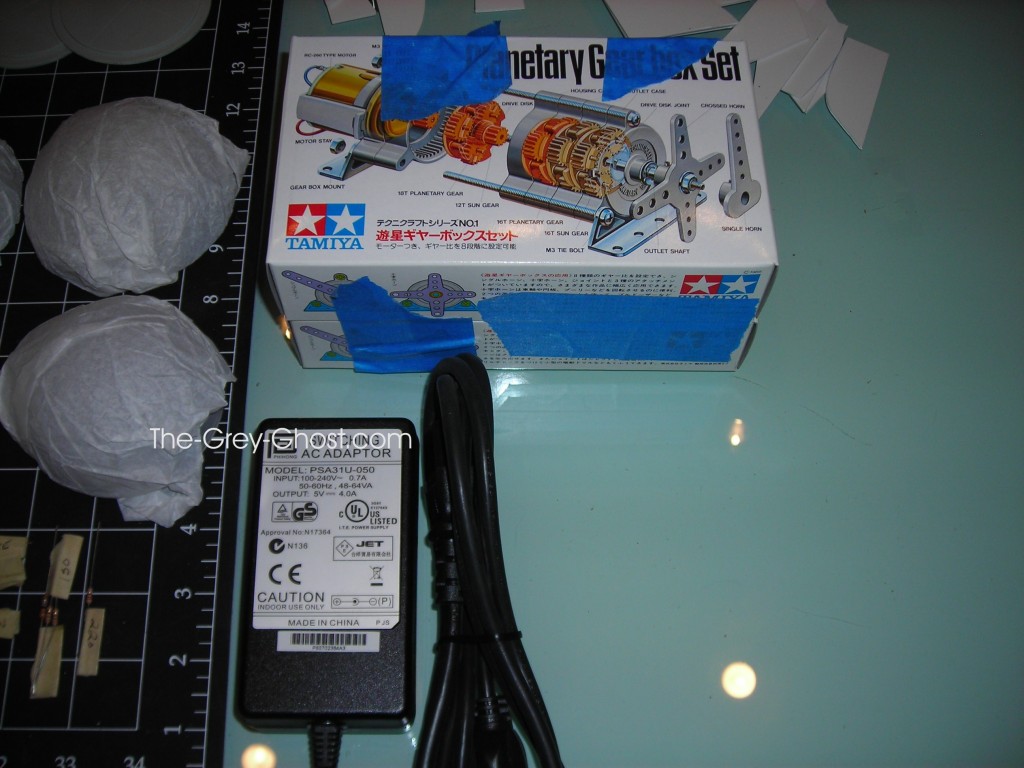
You see on the top of the image the planetary gear box set. These are for the spinners, I consider them junk, they are real noisy, the gears are styrene and the shafts are to unstable for a kit like this. I’ll go more into this when I show how I redid the spinners.
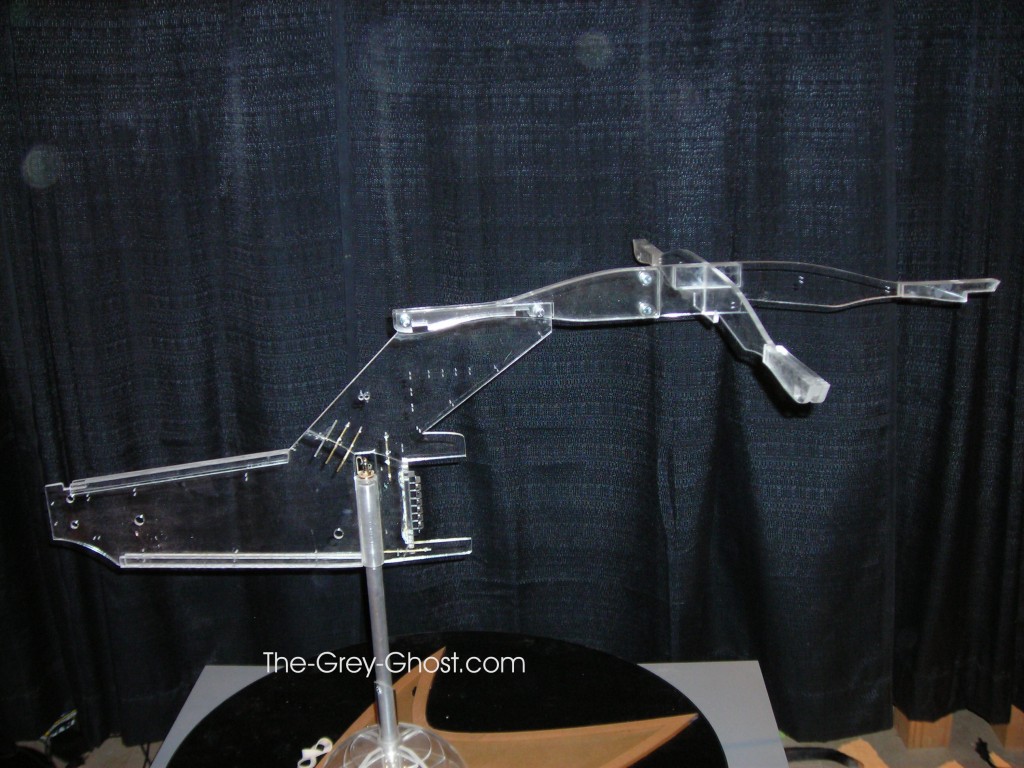
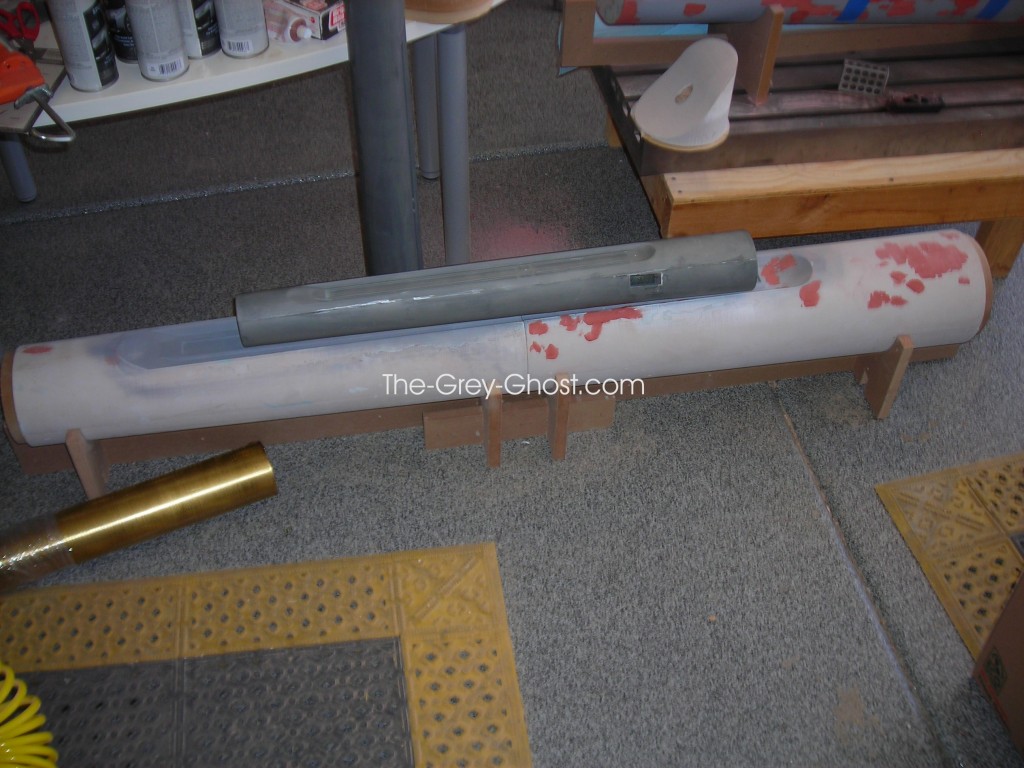
Here is the armature.
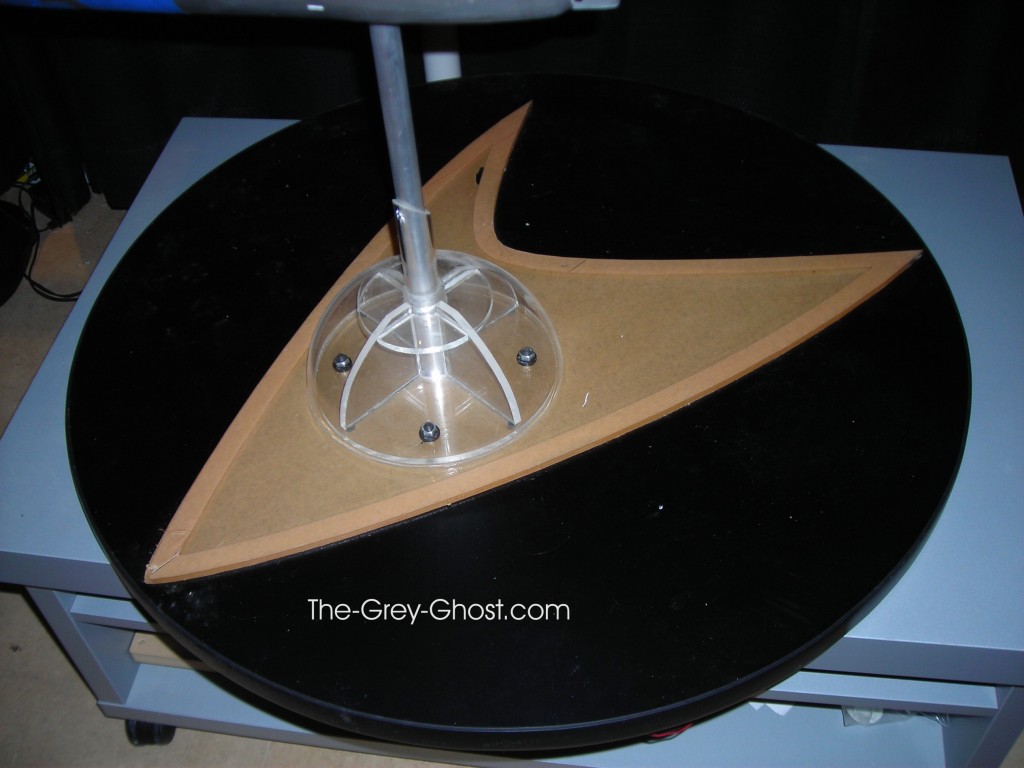
And the base.
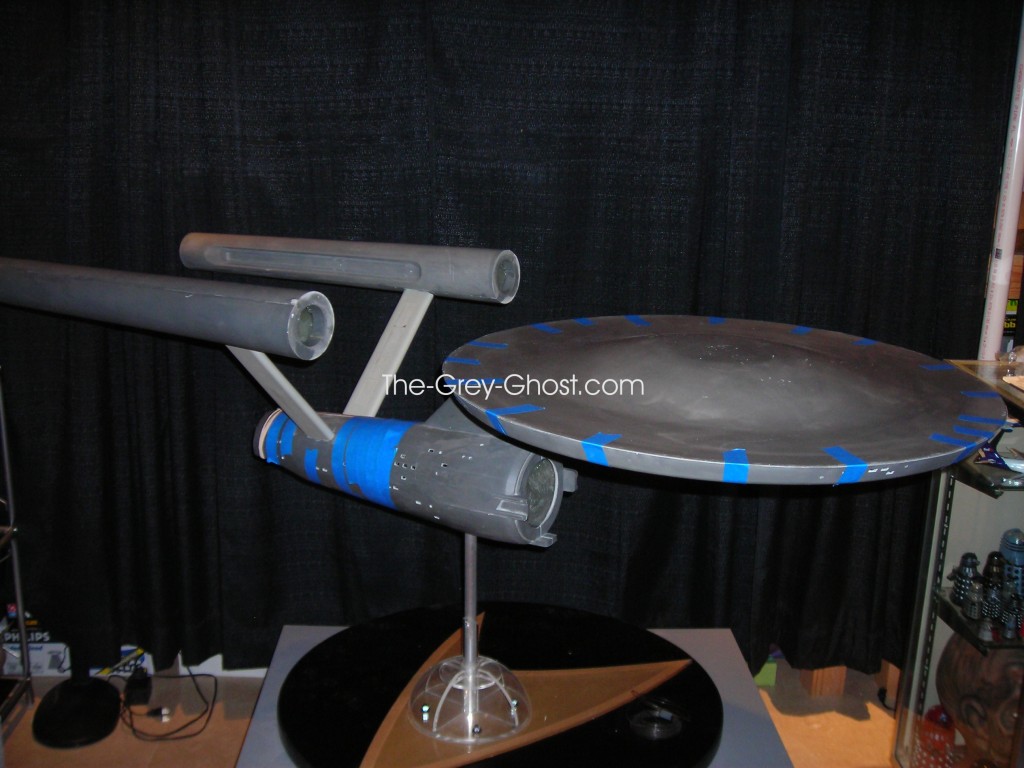
All the big parts together.
Here is some details, and a few issues.
For some reason some bits don’t want to leave the mold. Most likely mold release issues. Just another spot to fill and sand.
This sort of thing can happen with a thin long part, give it a few minutes with a heat gun(on low) and problem sorted out. 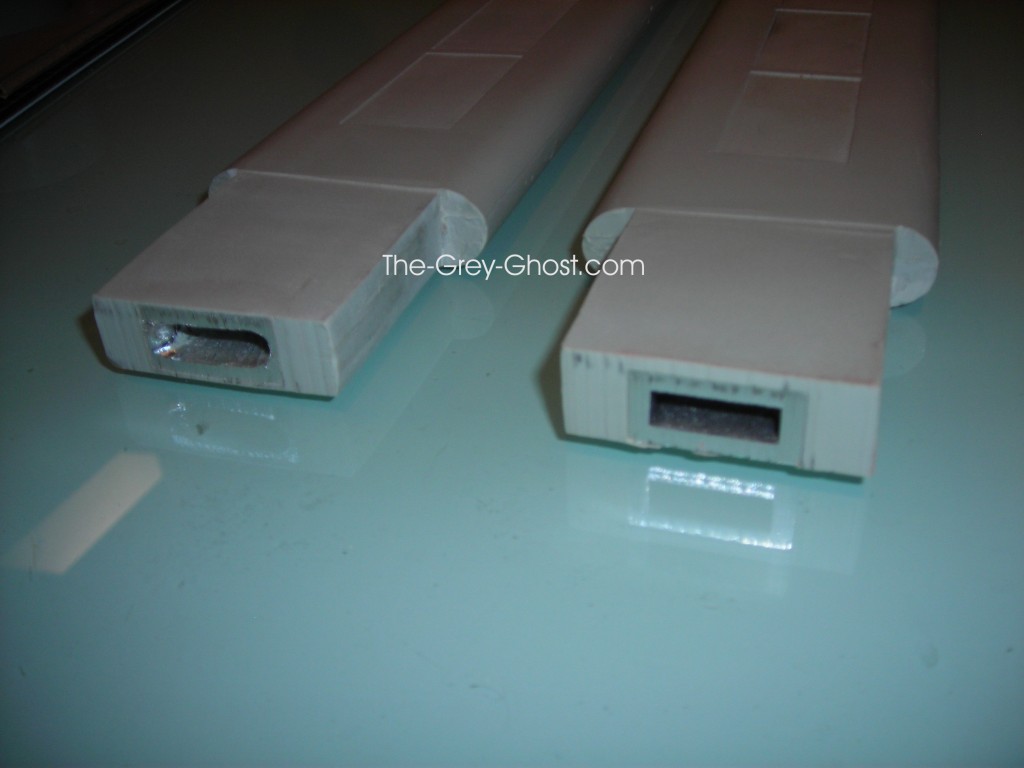
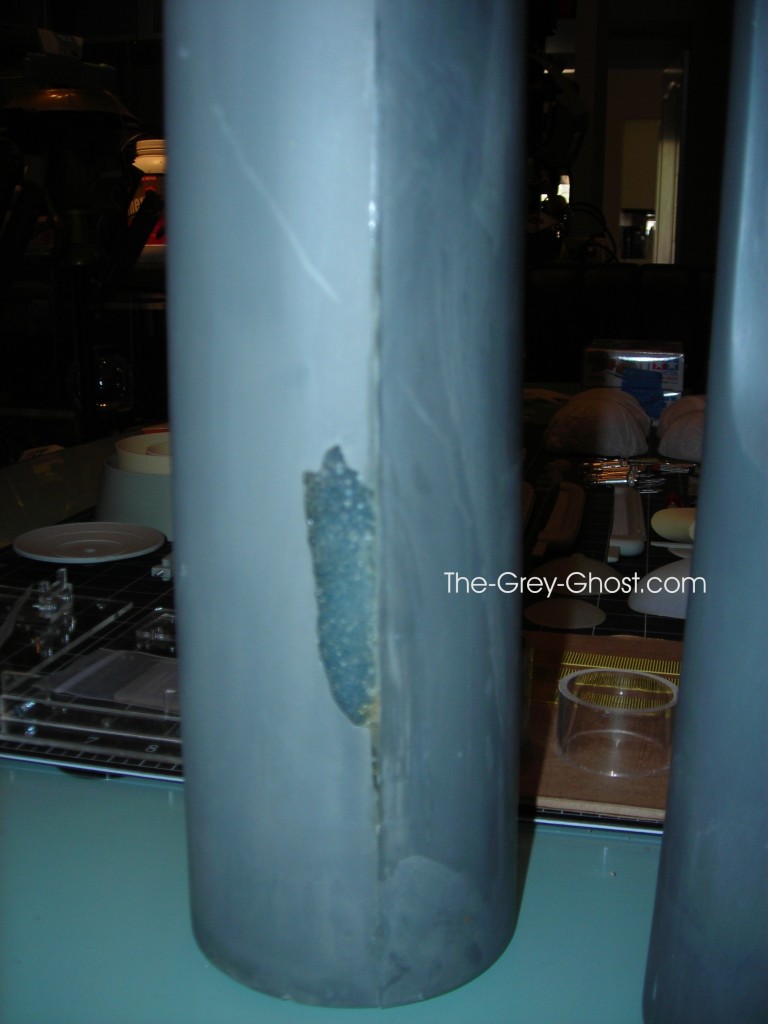
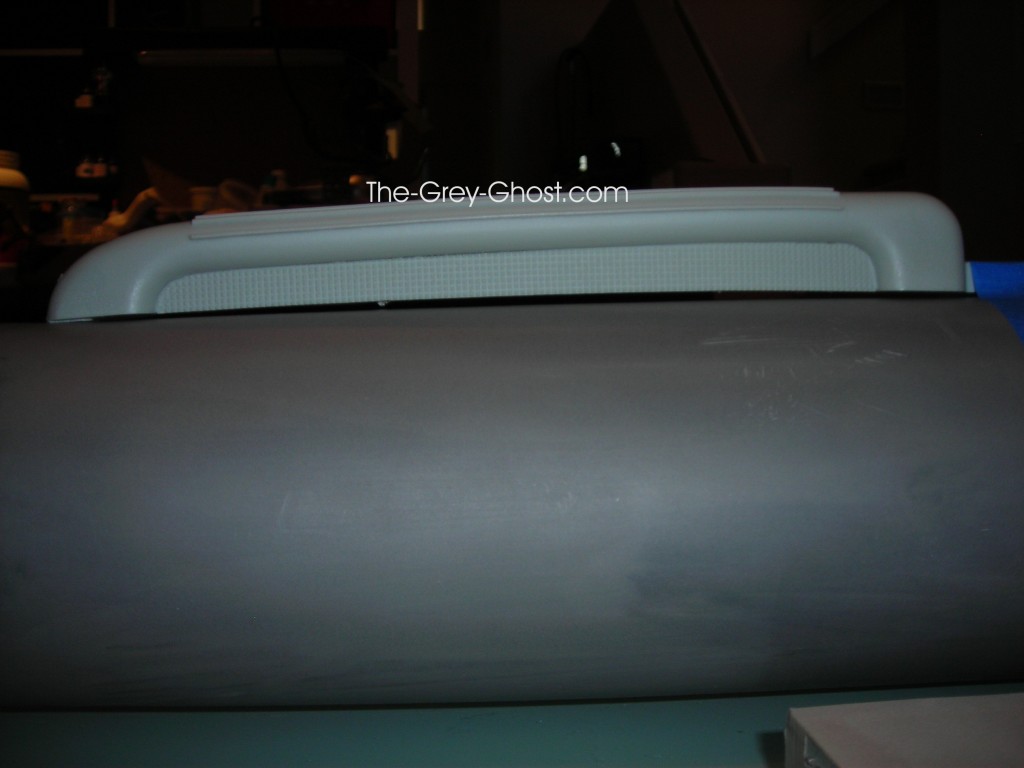
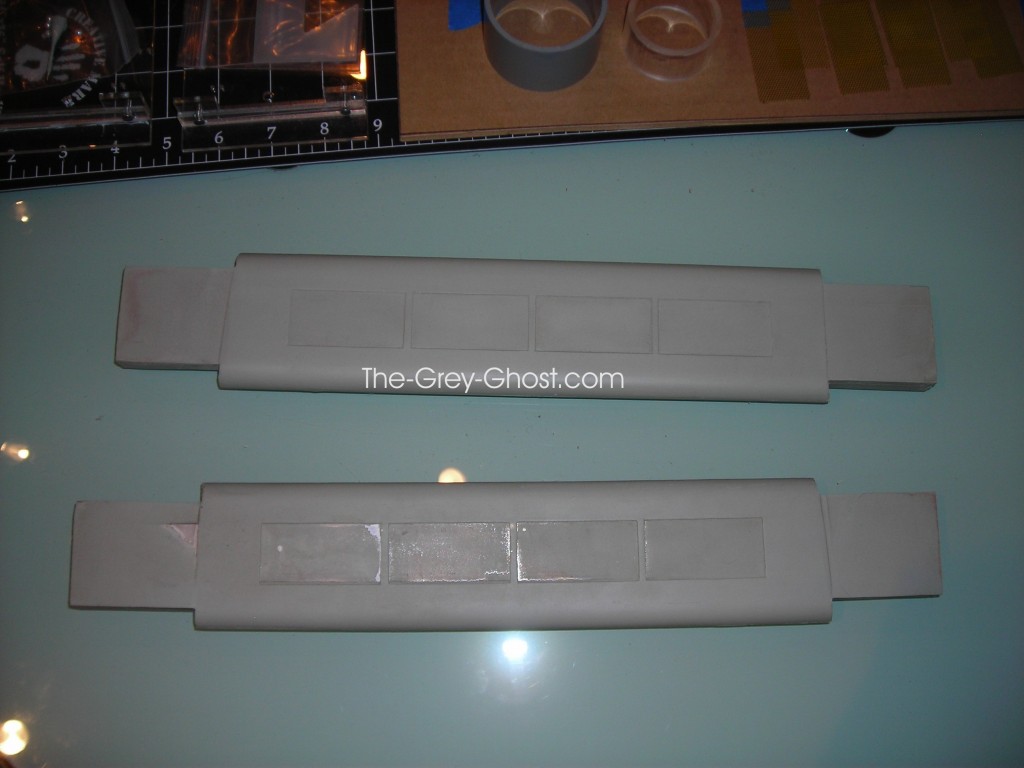
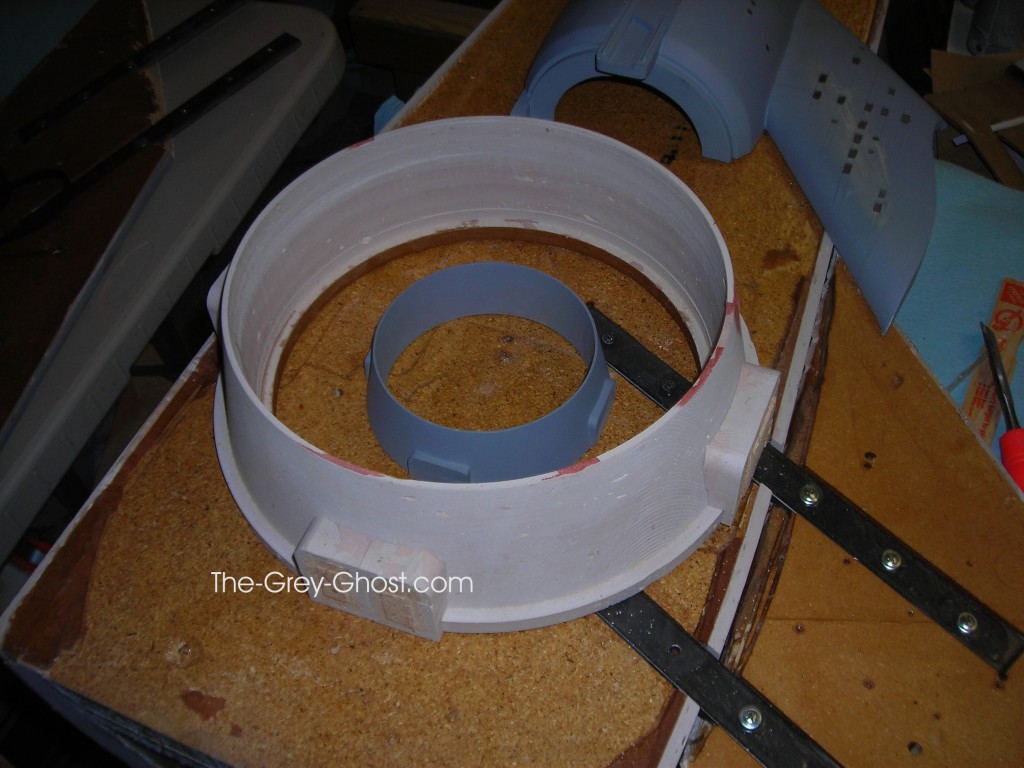
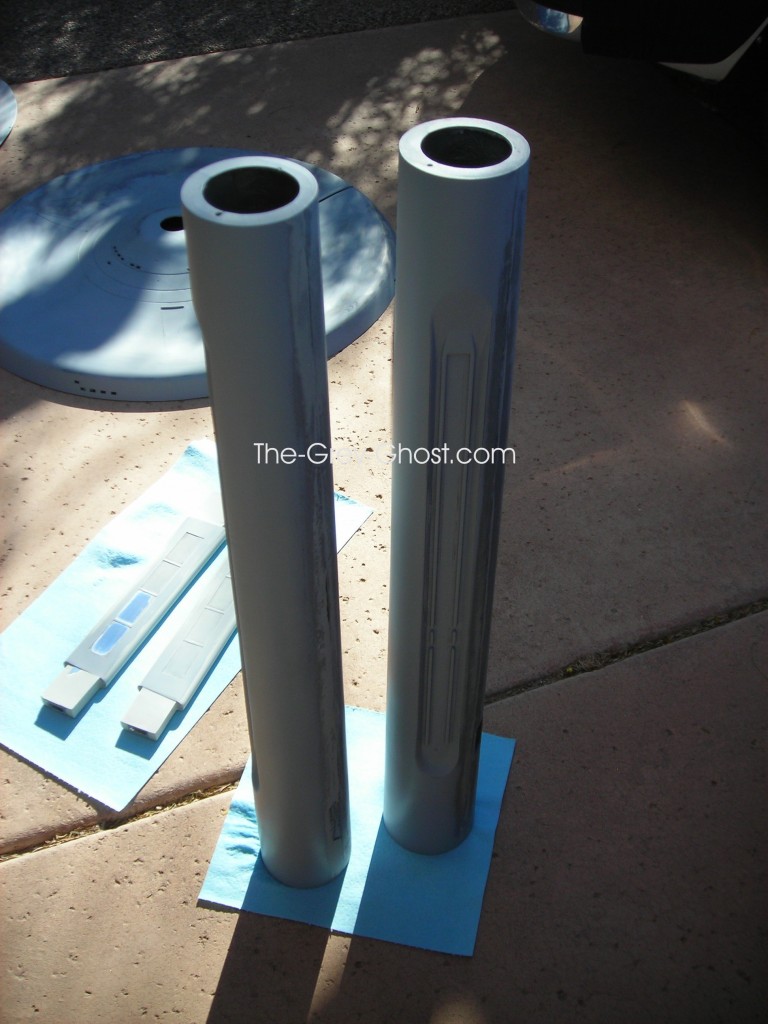
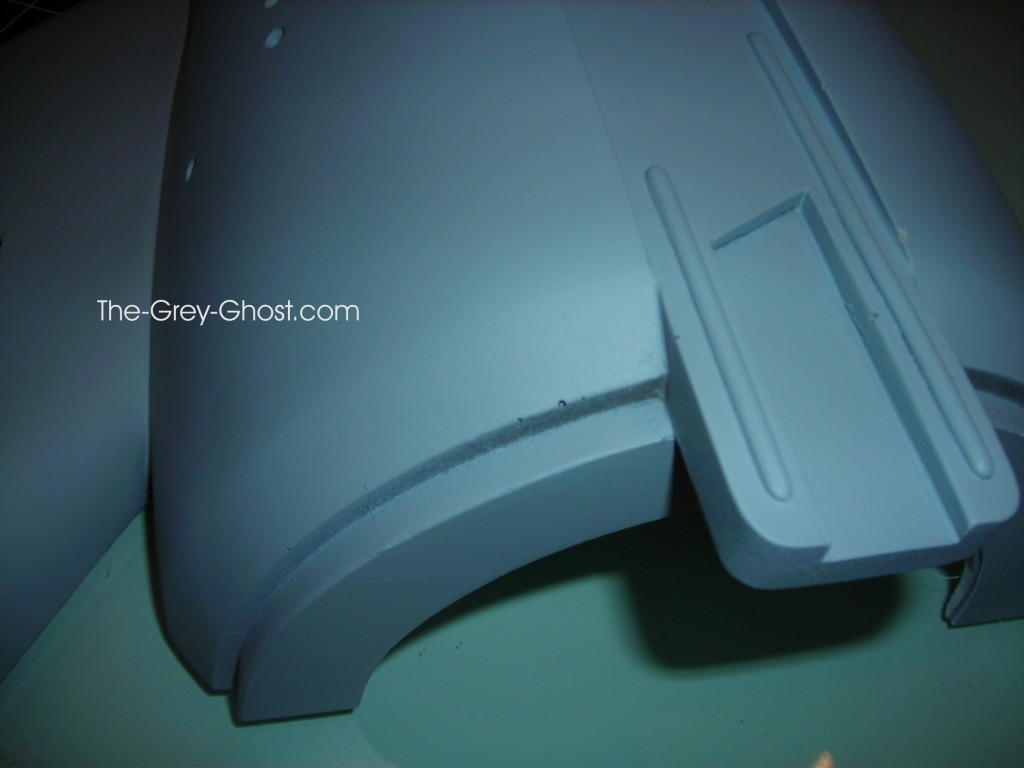
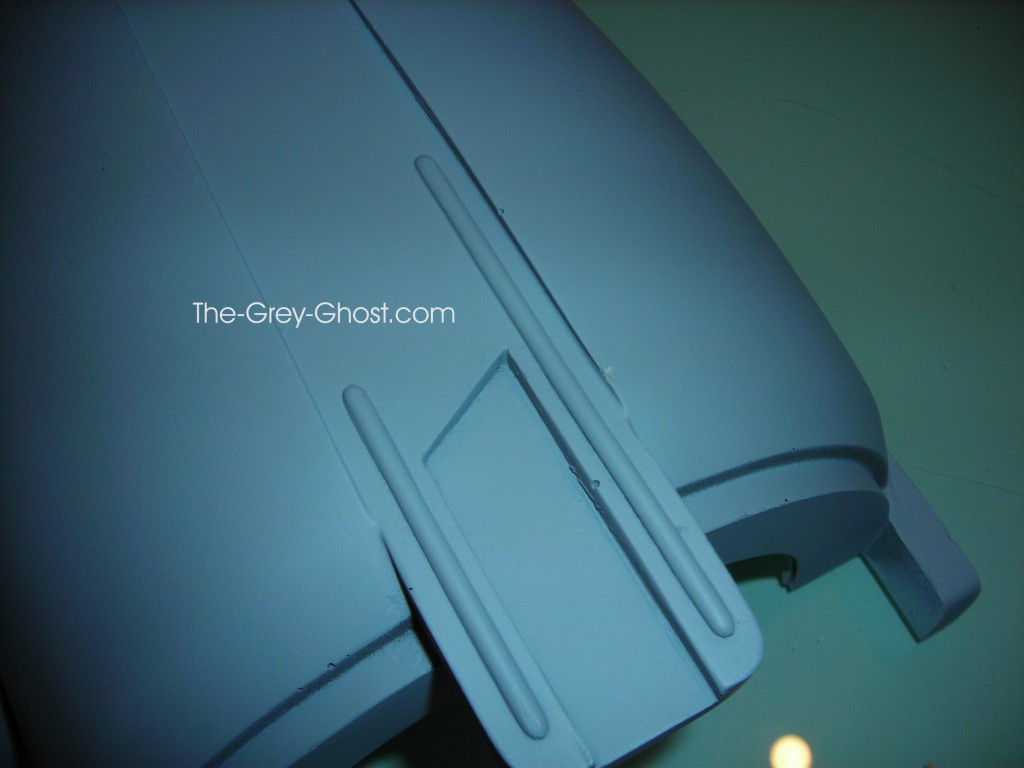
Here is the pylons, they have an aluminum tube cast in to them. For electrical and support.
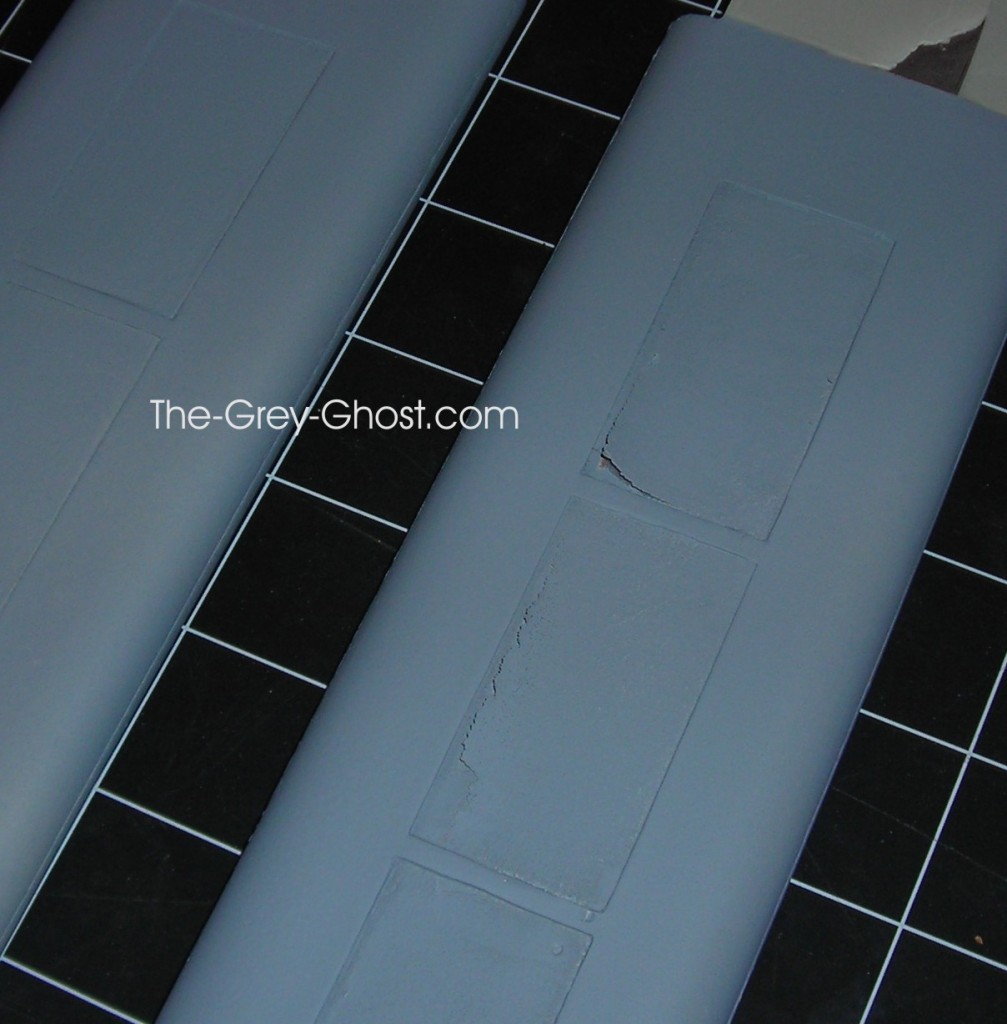
But they were not placed with care, see the bits of the tube shining through. Really it isn’t all that important they are going to be covered up with grill work.
Here is some parts comparisons, between the 66″ and studio scale(some parts are primered).
Saucers
Nacelles
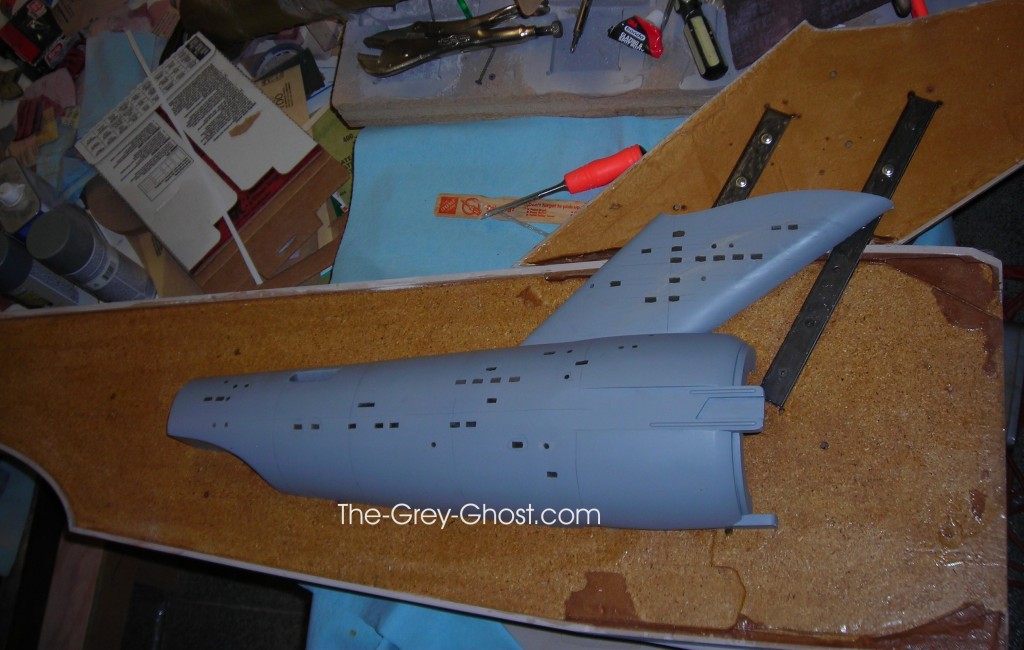
2nd Hull’s
Deflector Cone.
In the world of models primer can revel all.
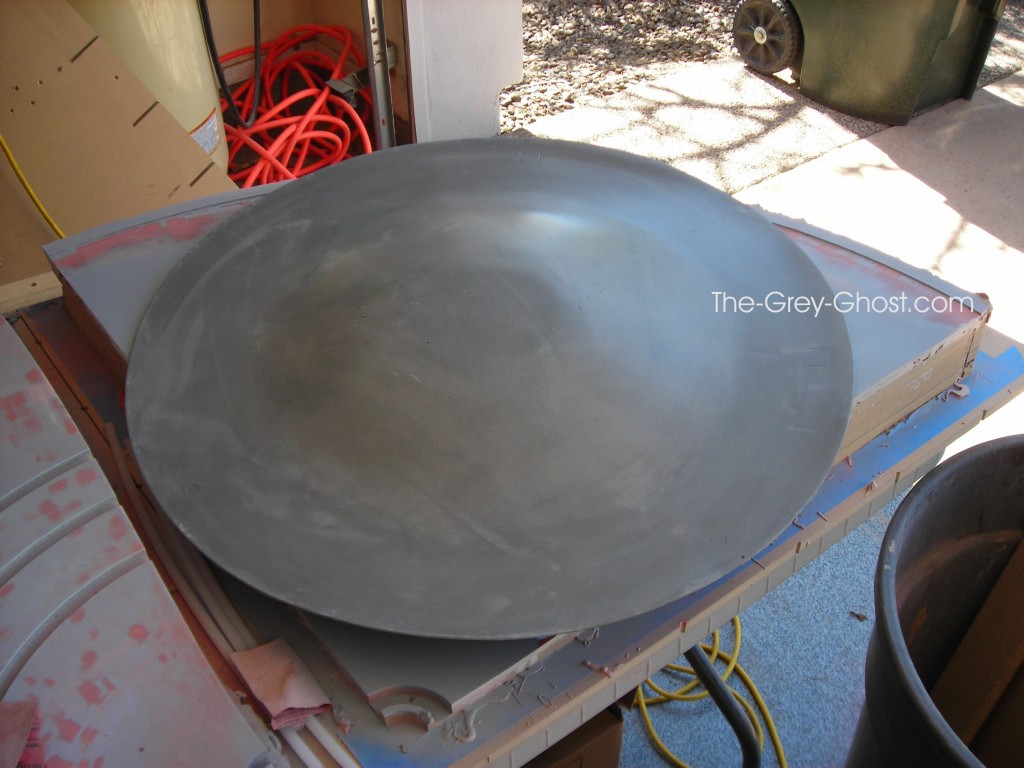
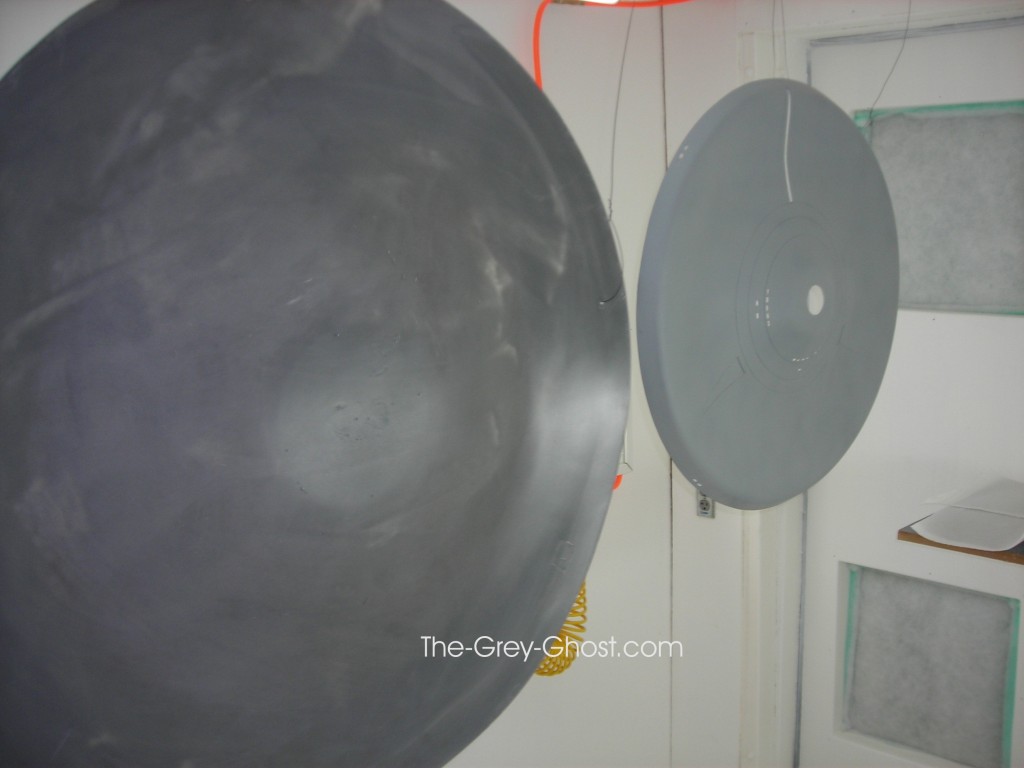
No wonder the saucer gets out of shape, it’s very thin. The swirl/cloudy areas is light coming through.
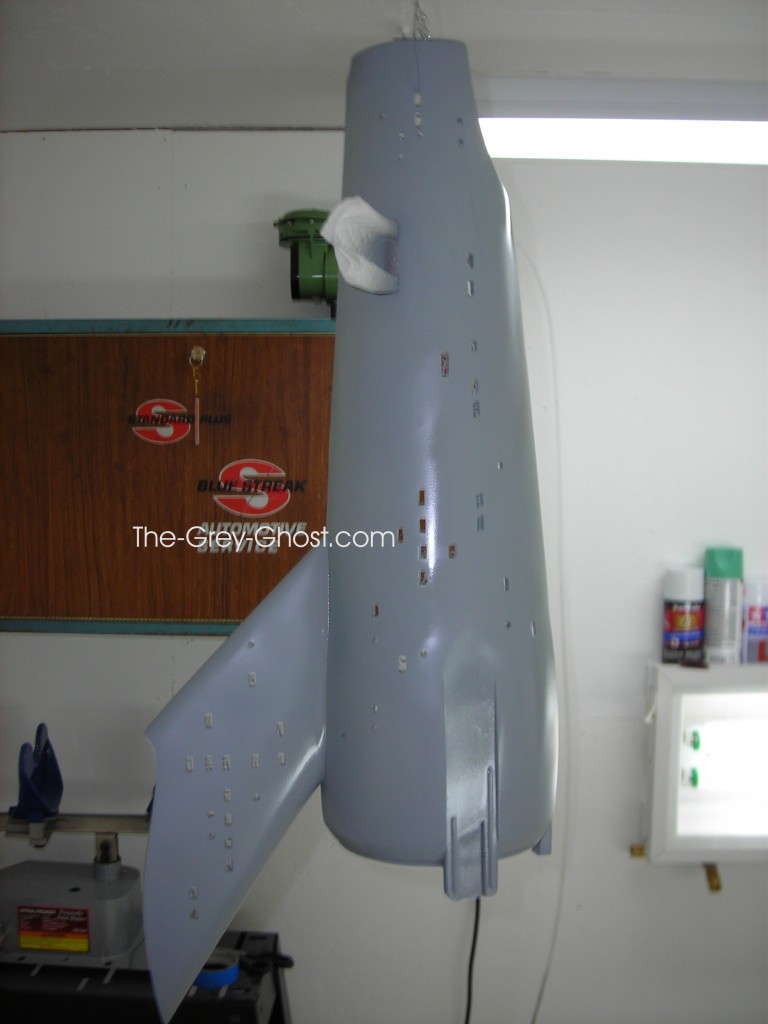
2nd hull freshly primered.
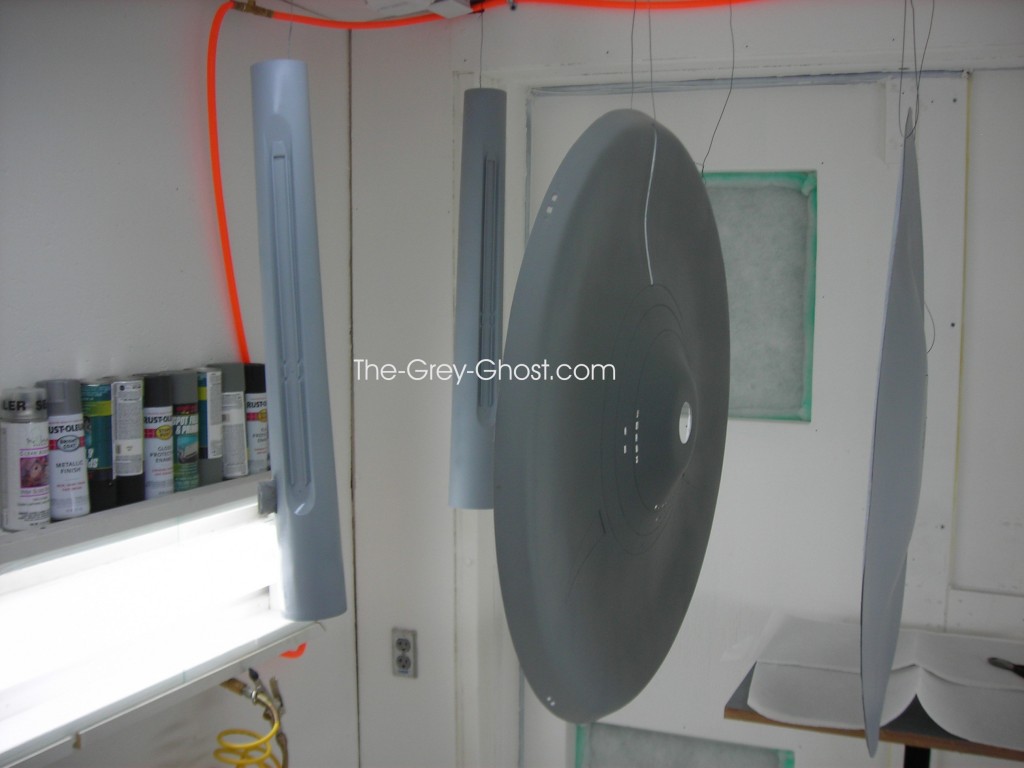
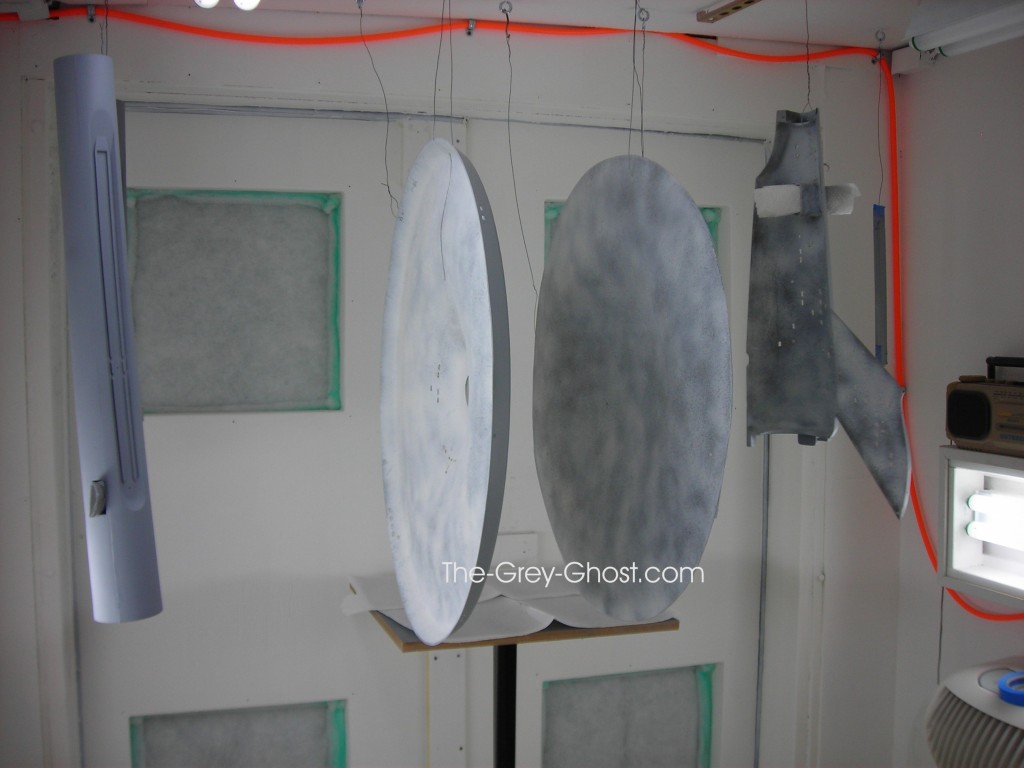
These are hanging to dry, note the upper saucer(far right) it reminds me of a warped record.
I dusted the backs of these parts with white. After the windows are done I’ll do it again.
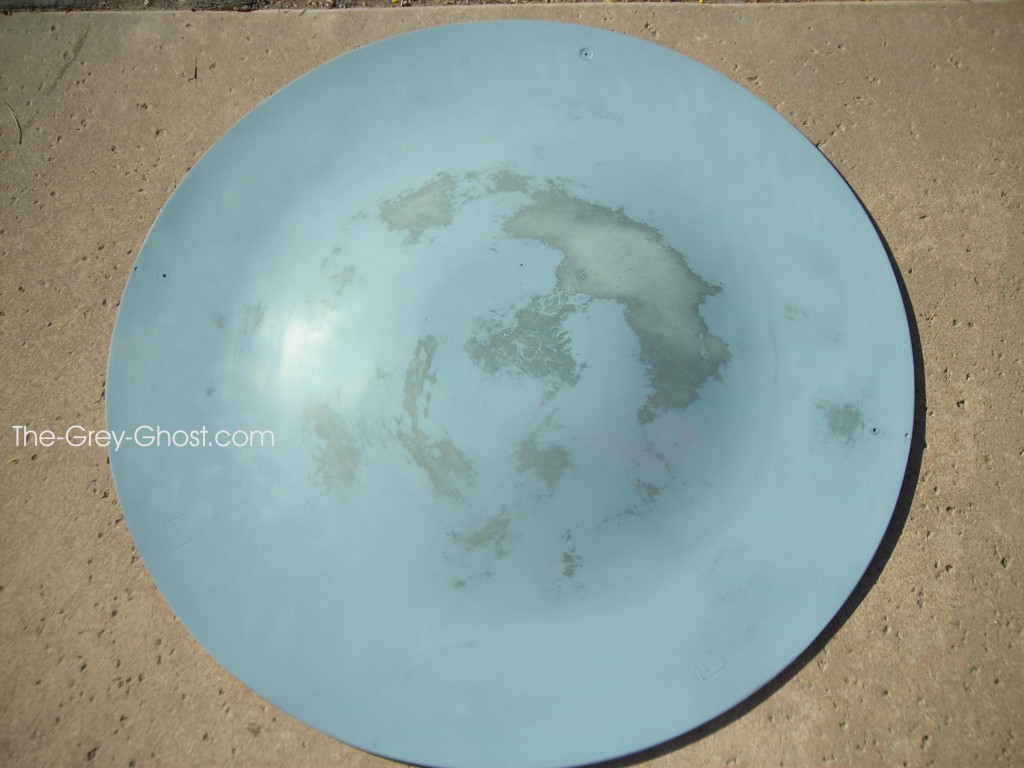
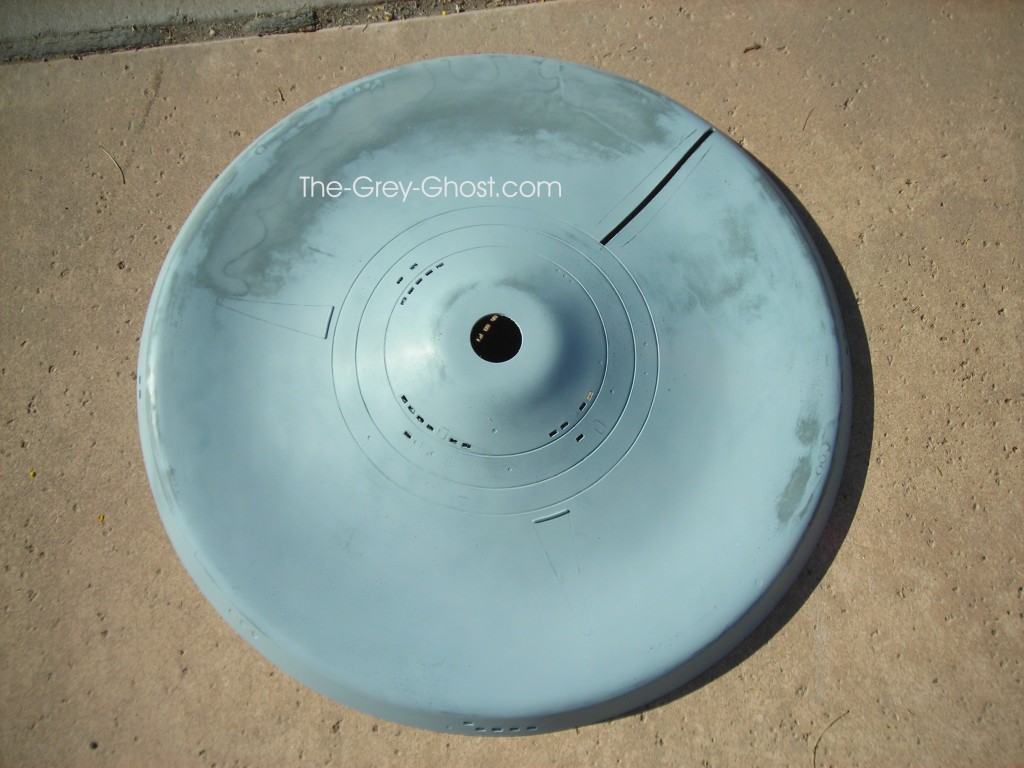
I have wetsanded the parts, it shows what areas needs attention.
Upper saucer(it did flatten out a bit in the sun).
Now I have to say something about the lower saucer. If you look just to the side and below of “The” you’ll see a wavy line in the saucer. That works it’s way around about 1/4 of the saucer. It causes me great concern, it’s a raised part of the surface. I thought I could sand it out, but I realized it’s under the saucer. Why bother if nobody is going to see it(I hope).
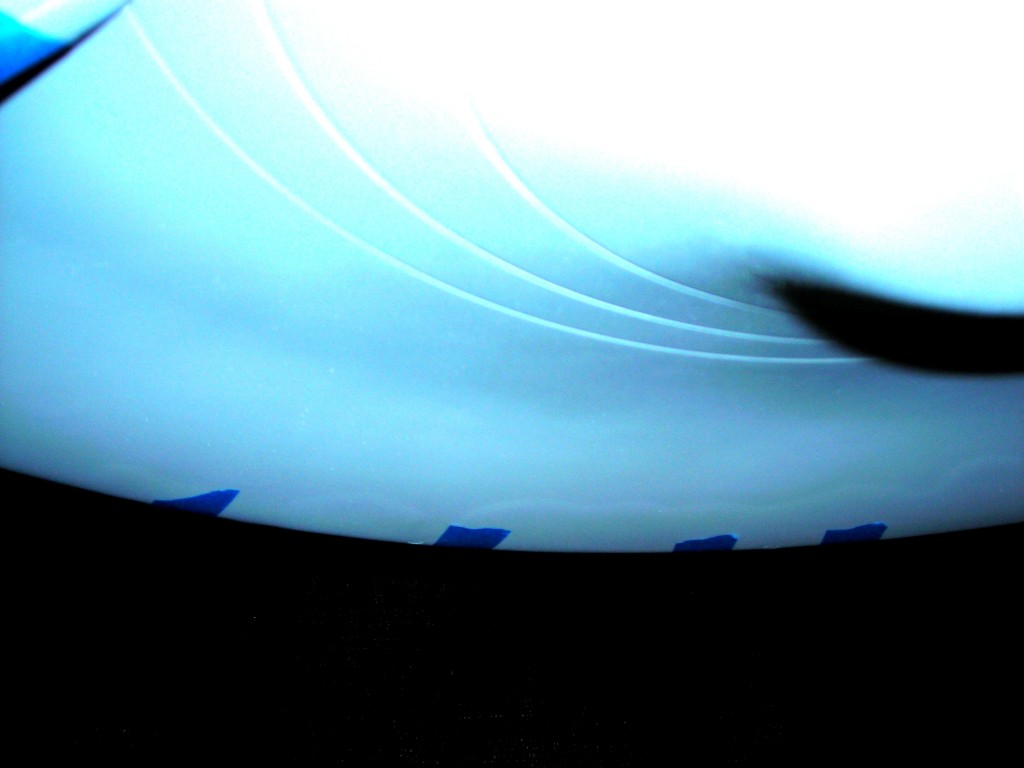
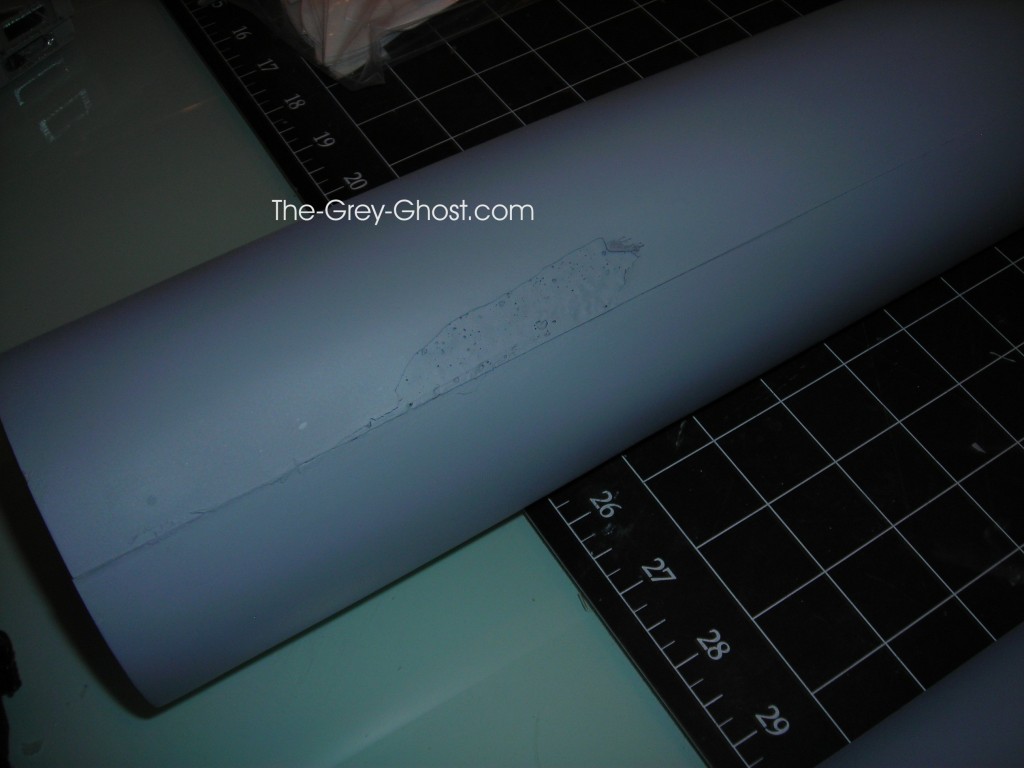
Here is the same problem area(the wavy line just above the blue tape). I’m pointing this out for it could be an indication of another problem. I showed the problem area to a friend, he said poke it with an x-acto. So I did, lucky for me the area wasn’t hollow. If it was it would mean major rework of the saucer. Voids in the fiberglass indicate a poor layup or there is an issue with the resin and the fiberglass is separating. Since I had other issues with fiberglass on this kit I was understandably concerned.
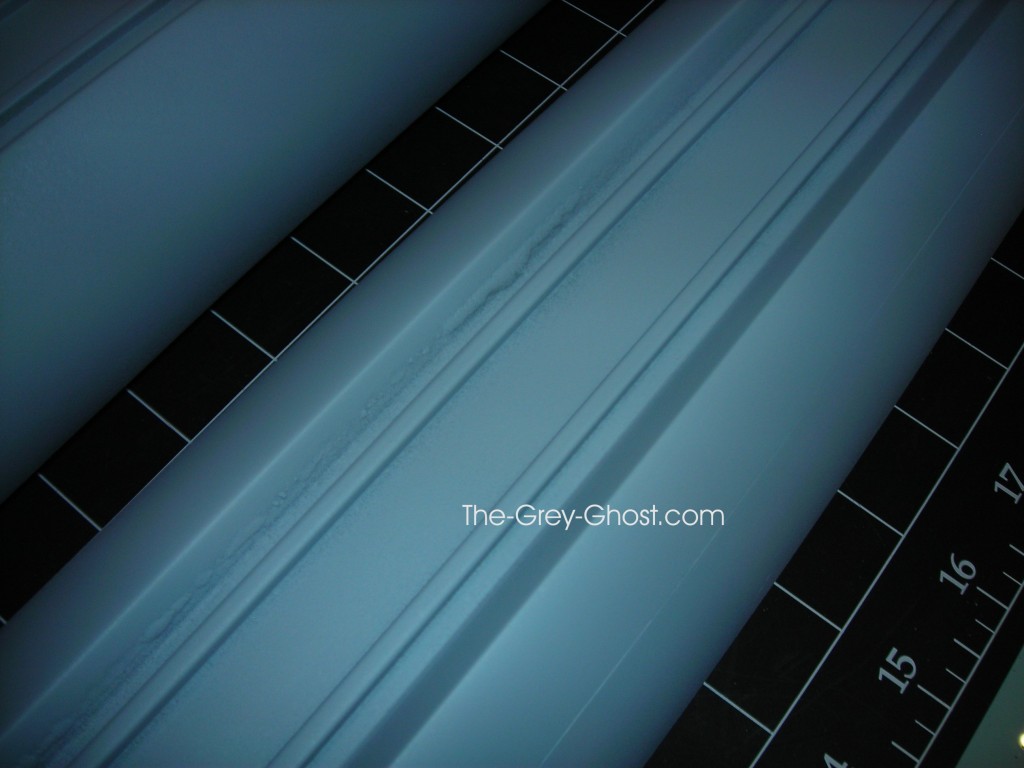
Here is a close up of the pylons. Remember the areas there the aluminum was showing through. When I primered it the resin was so thin it started to curl. Again these areas are going to be covered up by grills, not a big deal.
Here is some of the errors I found after primering.
Definitely a few bubbles here and there on this kit.
This is the spot from earlier, primering made it look worse.
This kit is just like any other garage kit, it’s going to need it’s fair share of work to get it right. I’ve seen worse and I’ve seen better.
To be continued…

