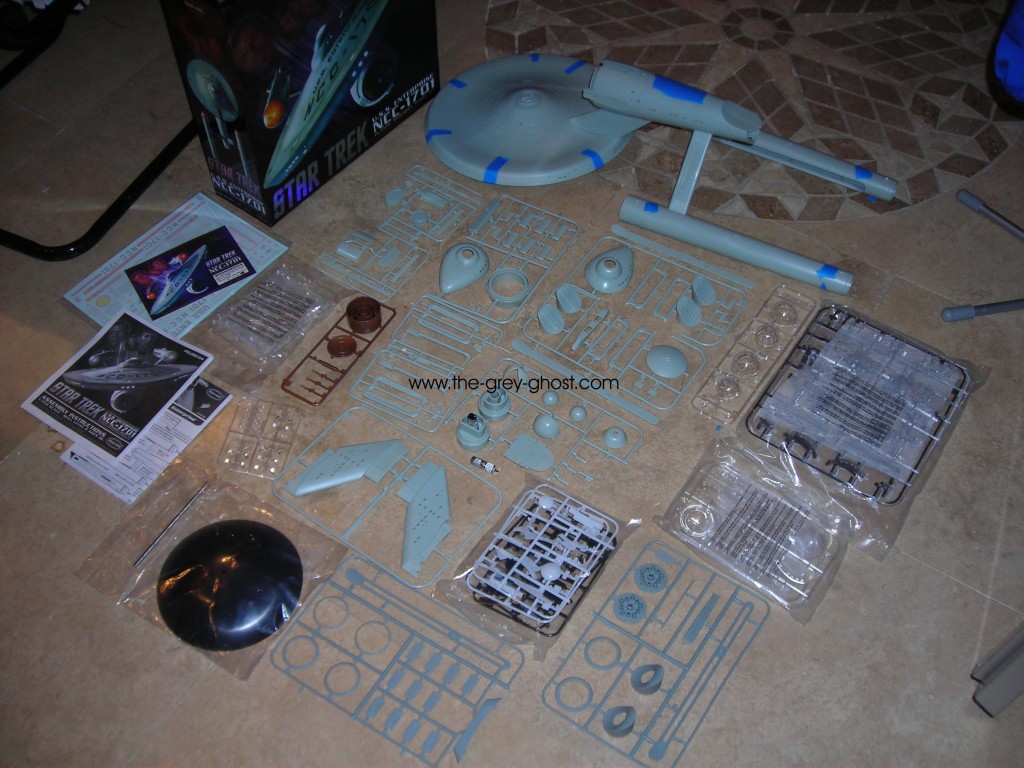
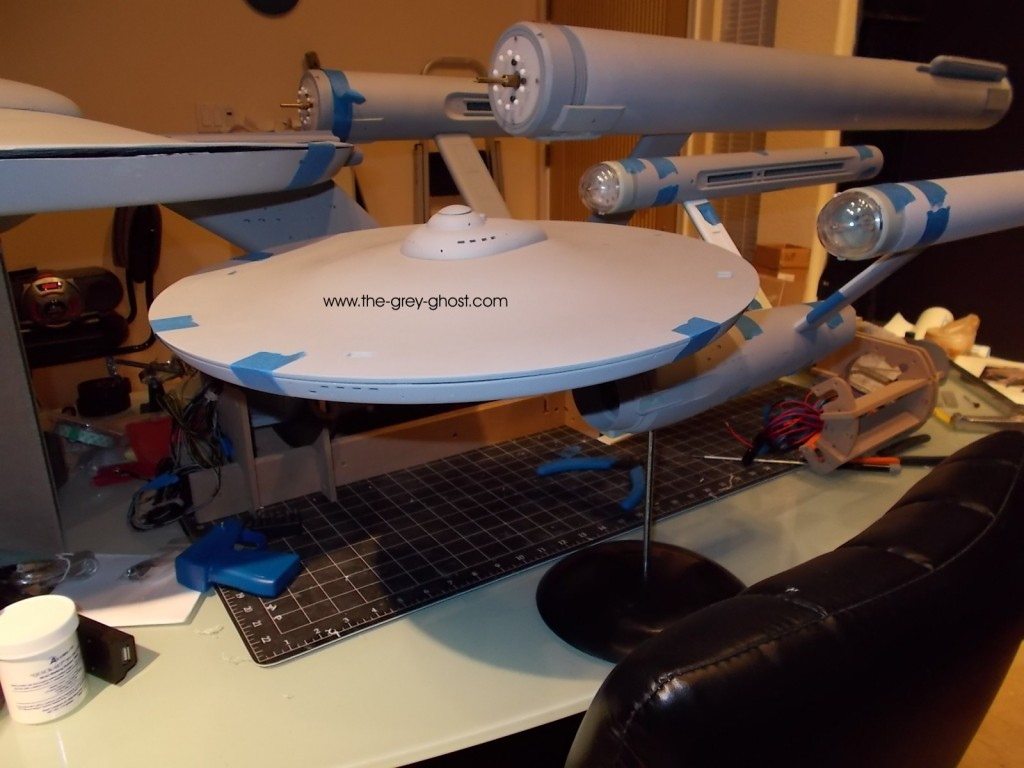
I don’t know what it is about this model, but people love to make this subject more complicated than it needs to be. This kit has a number of things that made me wonder, “Why did they do that?”.
The original Enterprise is a fairly simple design(some would argue this), at least in comparison to the later starships. Those of you familiar with this site know I have some knowledge of this ship. Nor do I pull any punches.
First off, once you take the kit out of the box. You’ll never get it back in. This thing is packed tight.
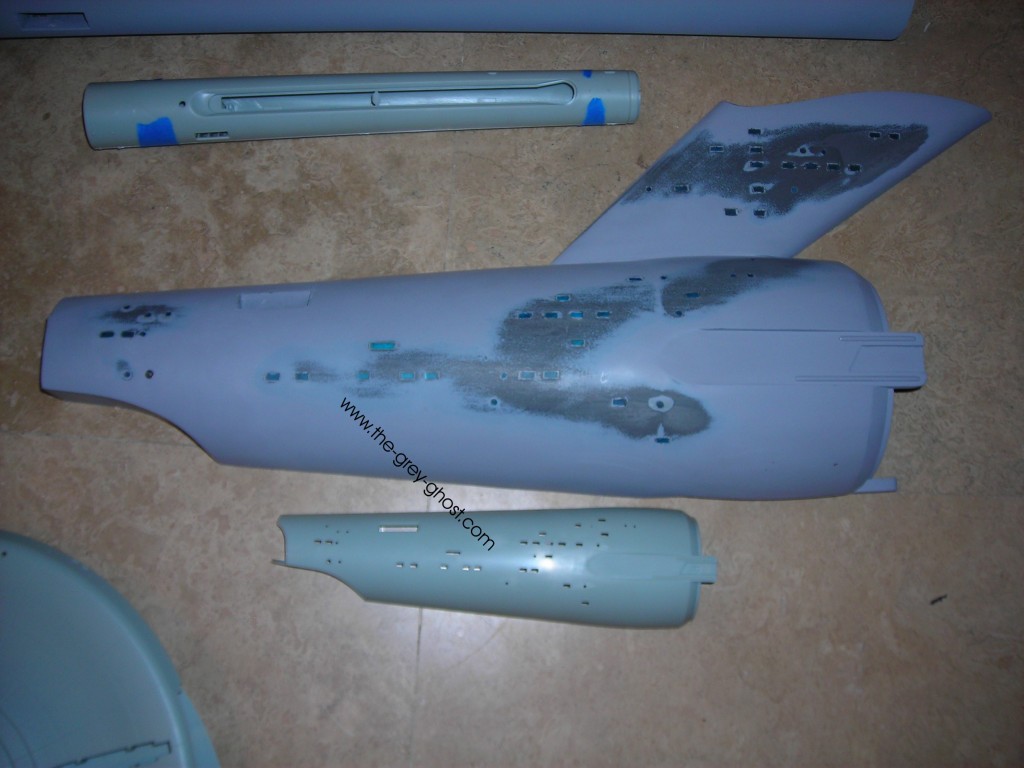
Man, it’s a small model. The only E I have been looking at lately is 66″ long. Yes, this is a small model. As I call it the “Tiny E”. Here are some comparisons to the 66″ model.
Talk about putting things in perspective, this image makes it obvious.
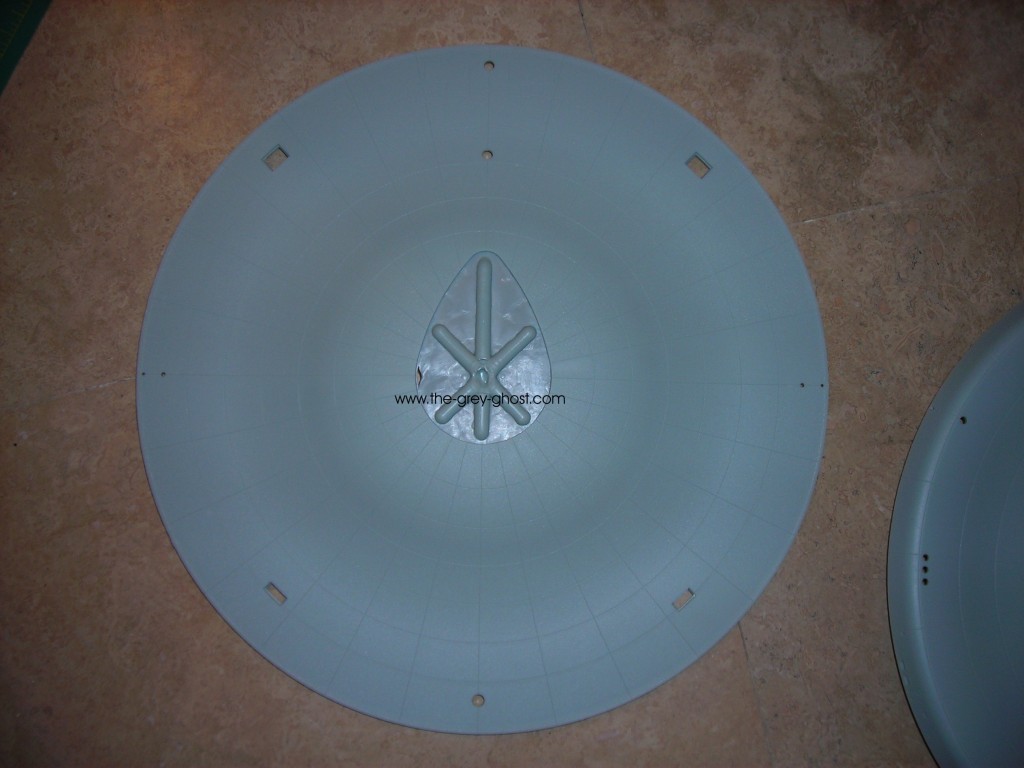
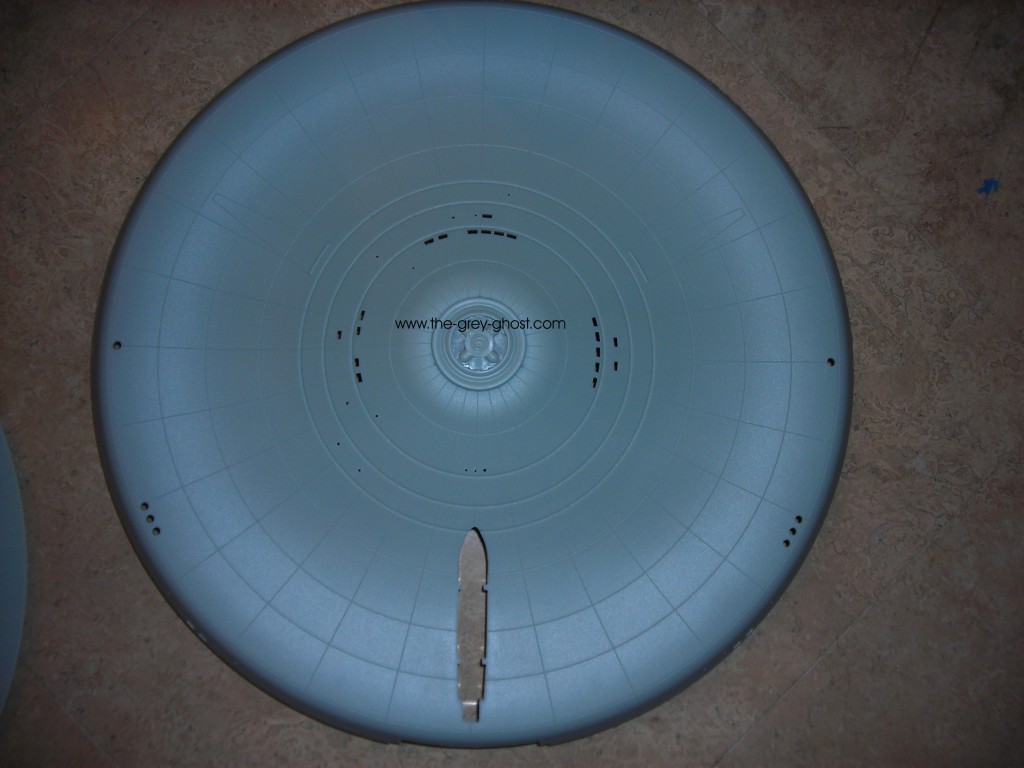
The saucer, all I can say is what a headache. R2 was going to put it on, no matter what. I guess they believe people can’t use a pencil, or model builders can’t align decals. This is a small model, you align decals from your landmarks, and this model has loads of them. No grid was necessary, it will only act to intimidate the novice modeler. R2 really doesn’t care about this, they got the sale. Who cares if the model ever gets built. Sadly the majority of models sold will never be built, or worse the modeler will get frustrated and put an unfinished kit back in the box.
A friend took one look and said, “That would be so much work to fix, I would leave it alone”. And we thought the MR E had issues with it’s grid.
Note the center ring, what I want to know, why wasn’t that a separate piece? It makes filling in the grid all that harder.
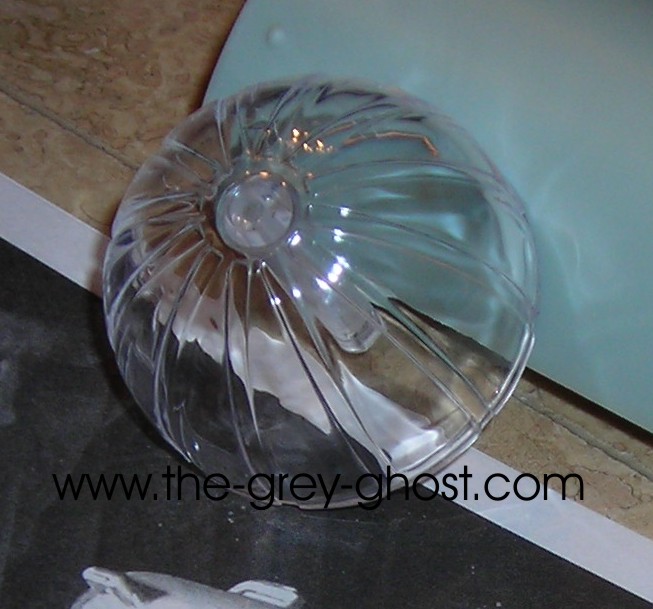
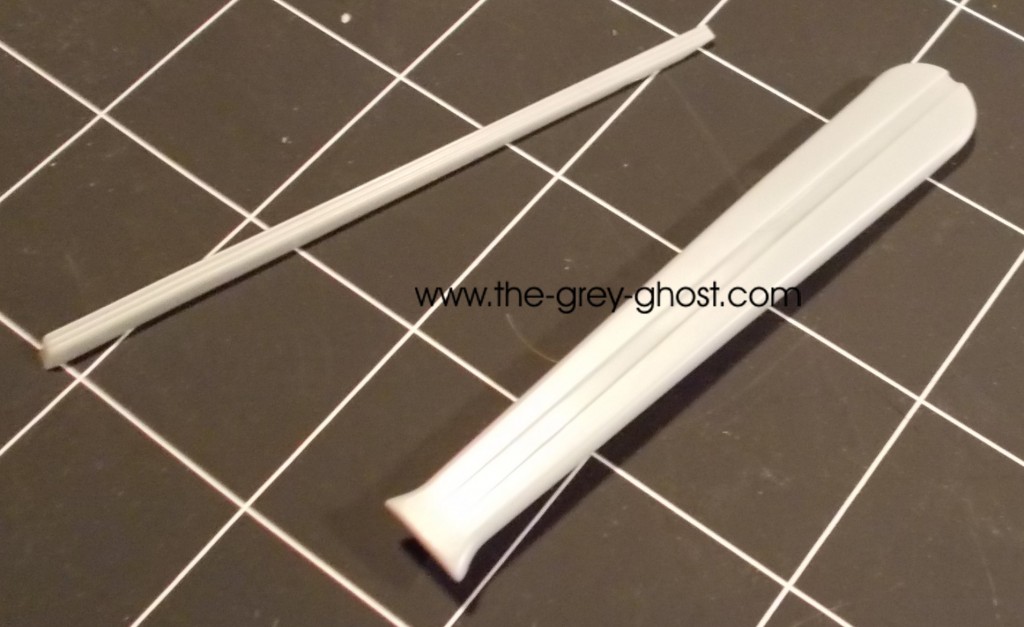
The other glaring problem is the spinners, these have to be replaced. This is bad.
Note: the spinner has straight blades. This this is wrong, me and countless others have tried this same trick. It doesn’t look right, the originals were tapered(even the MR E was tapered). The other problem the blades are inset, which means they will show up with the lights behind them. Then there is the center shaft(The spinner shafts are different sizes so one fits on the motor shaft, the other doesn’t), that was a real problem on the MR E. But then I thought the spinners on the MR looked awful. Hopefully this one can be much better. First you have to replace the supplied spinner. I’ve got a fix, I’m saving that for a later post.
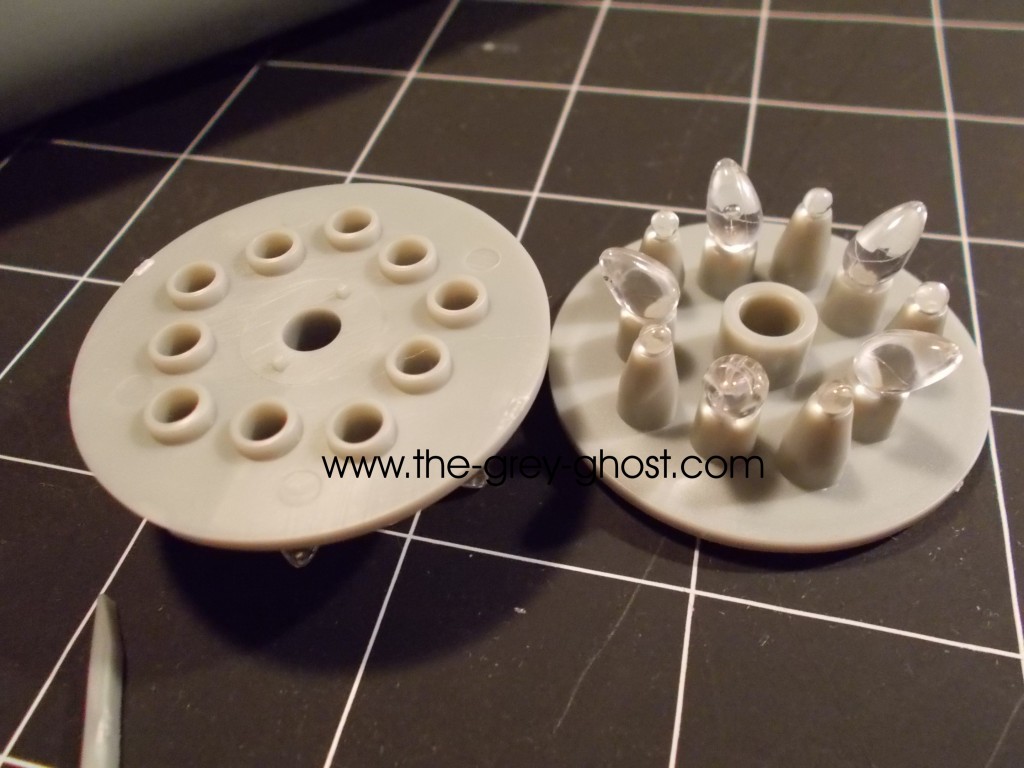
These stuck me as odd, the bulbs used in the 11 footer were all c7 Christmas bulbs. I must assume they were trying something to be different. I’m not using them in my model. They didn’t fit my modifications.
Here is one that was under the, “Why did they do this?”. This looks familiar-
Looks like-
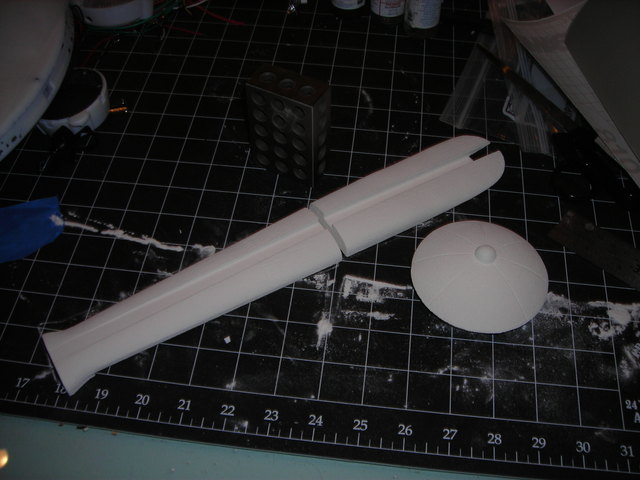
I did this for scratch building reasons, it hits a PITA(Pain In The Ass) factor in a styrene kit. The parts do not fit all that well(easy fix), so it’s under the “why” category. If I was the inspiration for this I’m really sorry. 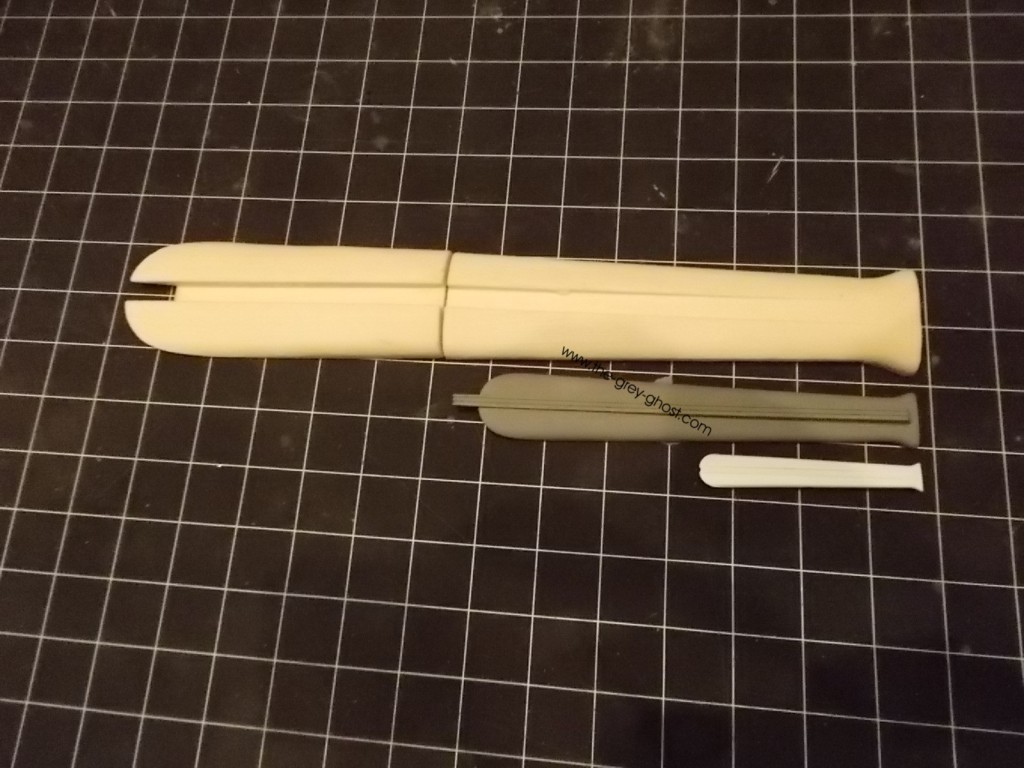
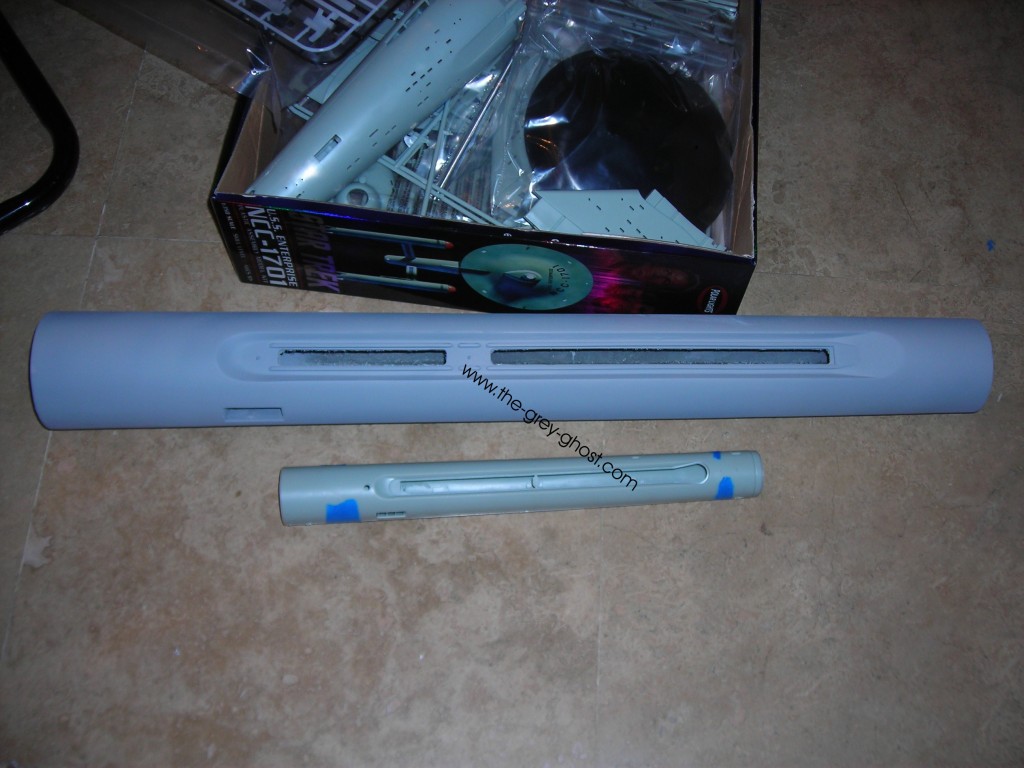
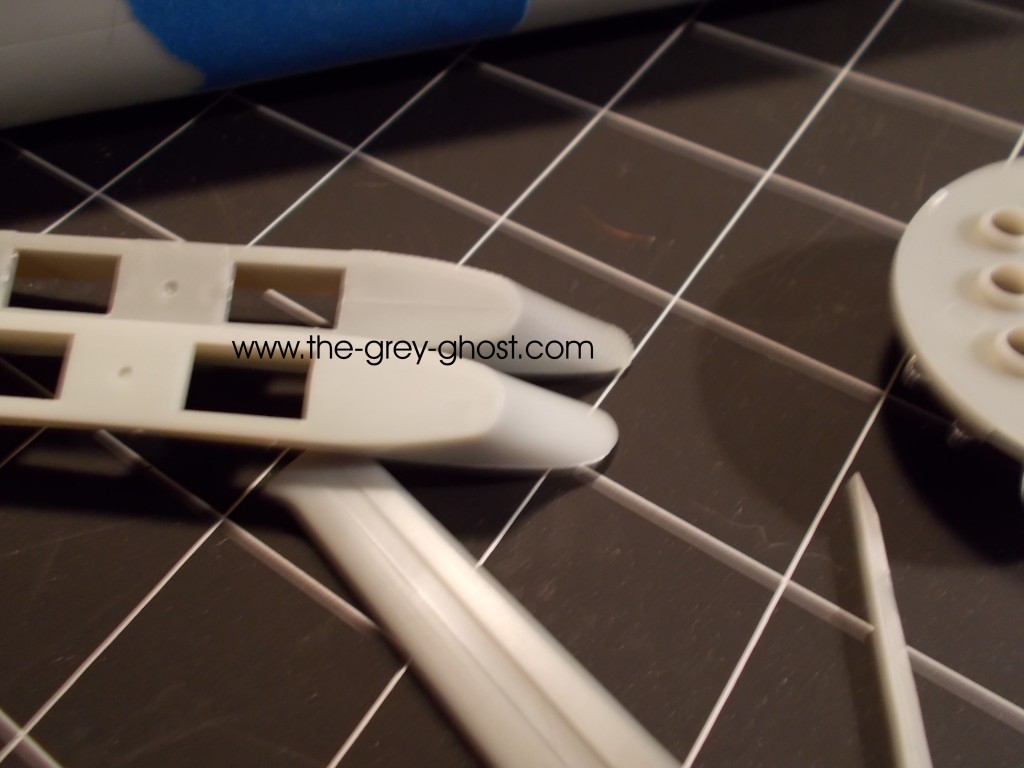
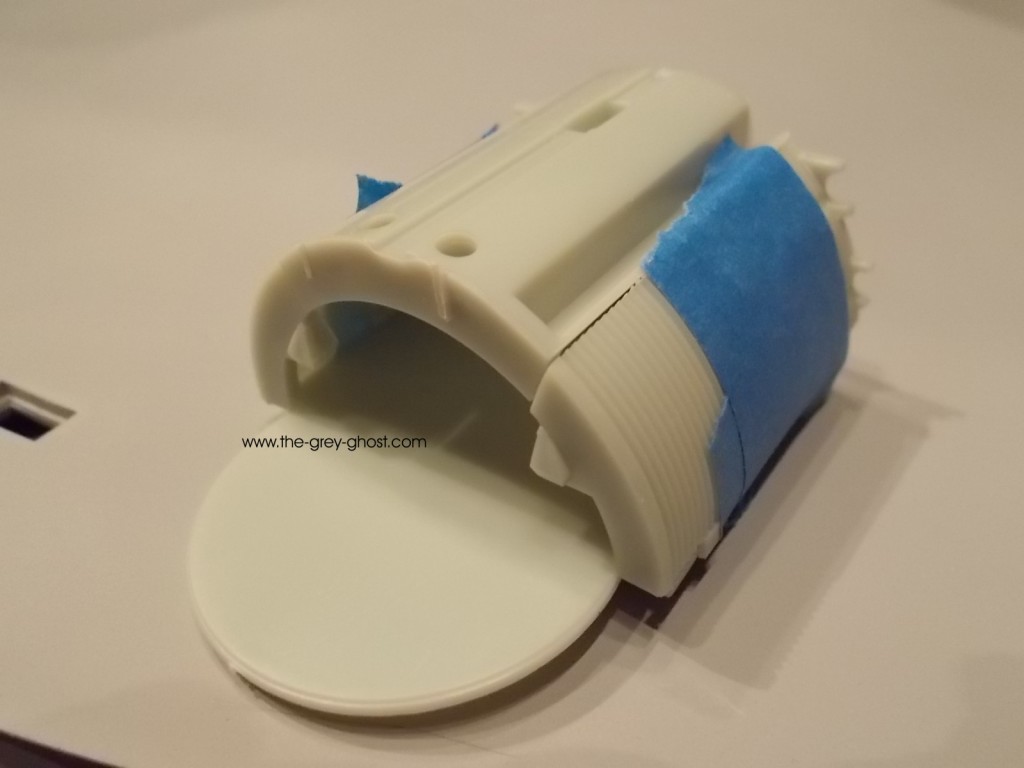
Here is a comparison of the accelerators from all three models.
I showed it to a friend of mine(who is one hell of a modeler himself), he was laughing trying to fit the accelerator parts. Lets just say they need a little work. It would have made more sense to make the part one piece.
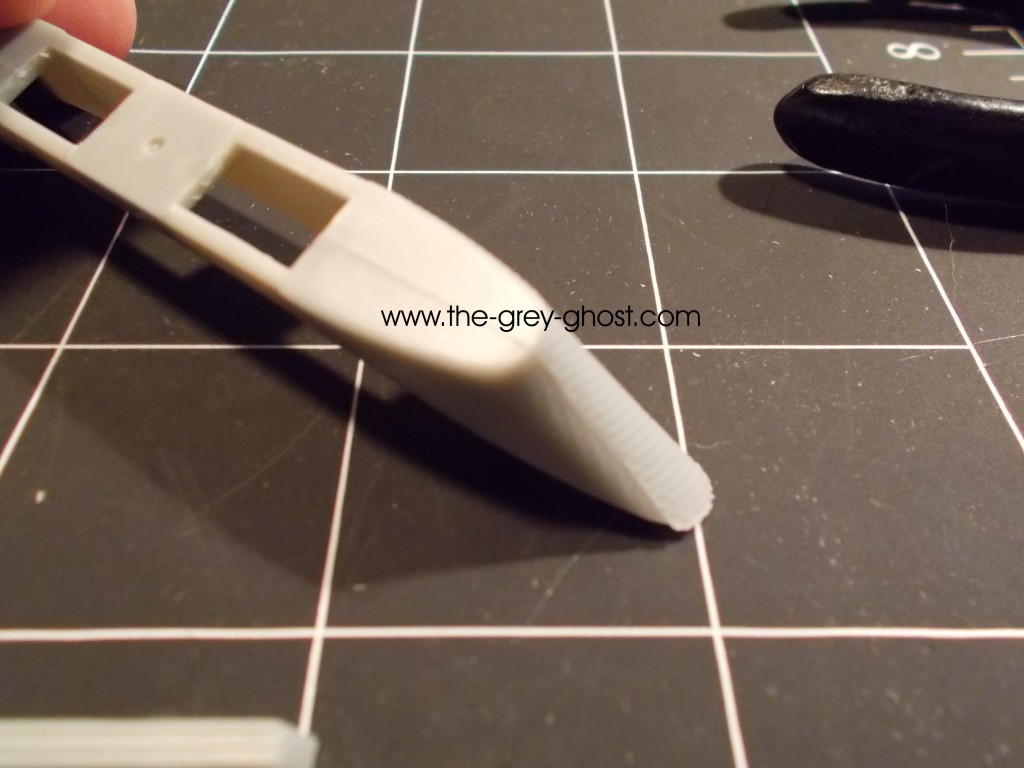
The more I dig the more I find. Here is a problem common in the garage kit world.
Seams through detail, I’m sure there is a reason(thank goodness the part is small). It’s another little thing easily rectified. Most of the time I’ve seen this in Star Wars garage kits. For the modeler it could be another headache. It depends how far you want to go. I wouldn’t have bothered mentioning this, if the pilot version had the same thing. But it doesn’t. I assume they were concerned about the detail hanging up in the molds.
I really like how the window strip works, again no big deal, but it looks like things were done in a hurry.
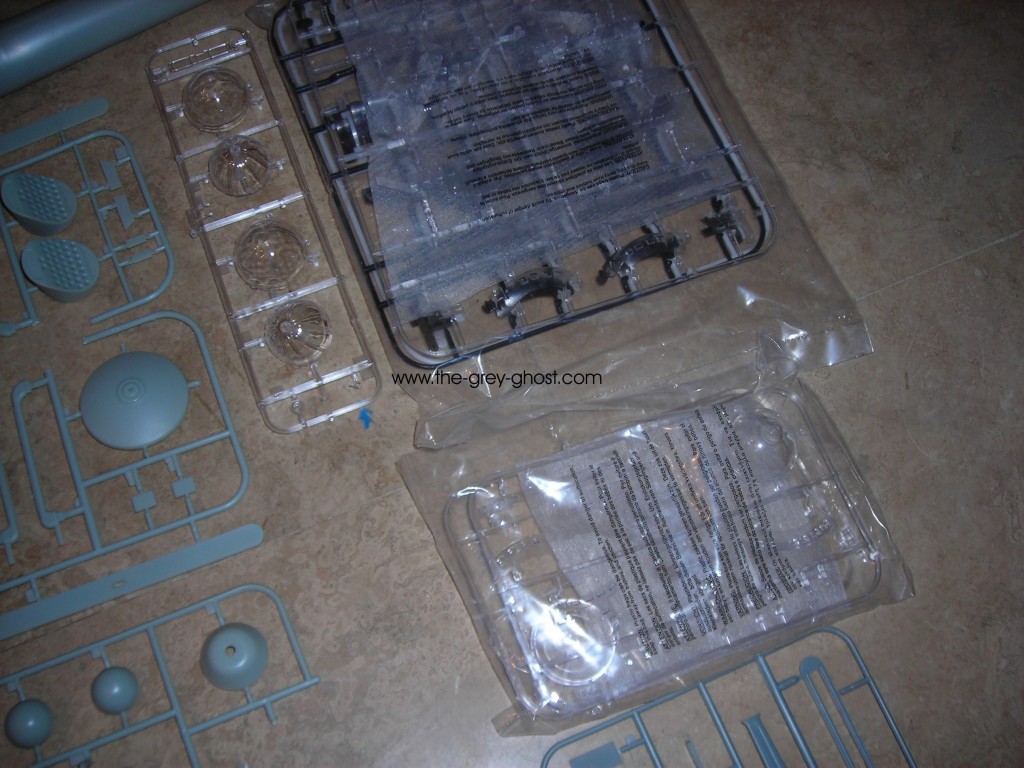
There are too many windows with this kit, three sets came with the kit, clear, white and black. I used some of them for masking areas I didn’t want to get paint in. Overall most of the windows didn’t fit all that well. My suggestion is to use Steve Neil’s dental acrylic trick. It’s real easy to do, and since not all of the supplied windows fit all that well. It will have much better results in the end.
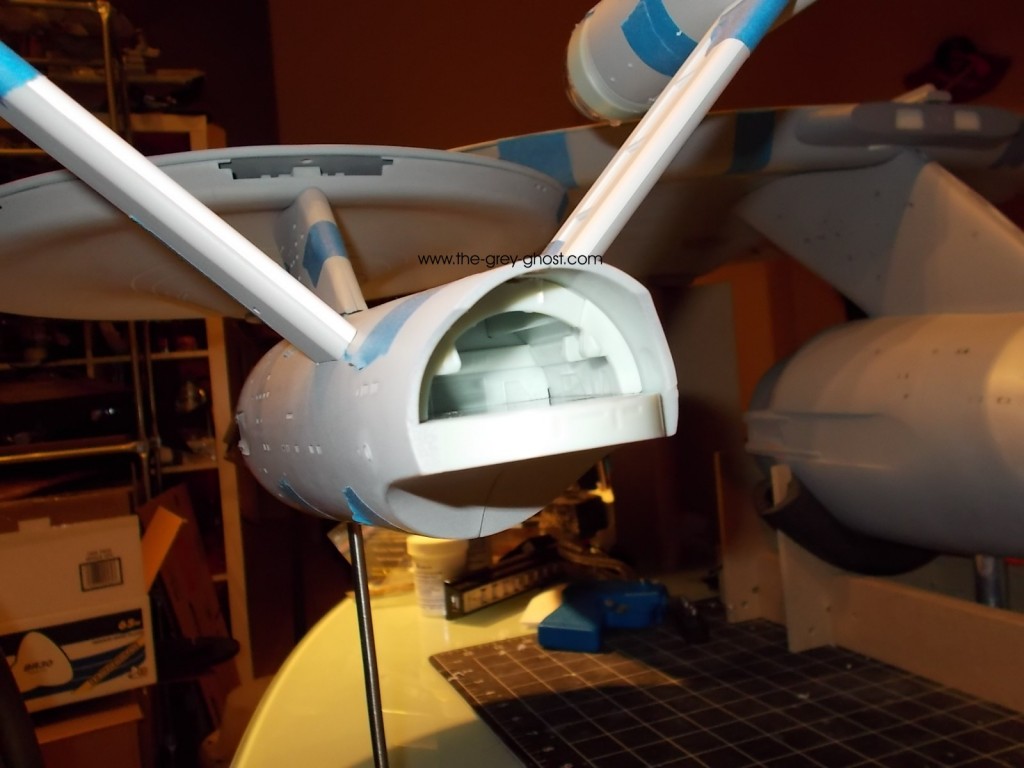
The shuttle bay, oh man these guys are inconsistent. Ok the Refit had a shuttle bay that can be made separately from the model. Not this one, it has to be in there. I think this was a really dumb idea. I mean really dumb, even worse the shuttle bay status windows are not clear, nor is the window above the doors. What if the builder wants to light them?
Perhaps this is rectified in the light kit. I don’t know. I’m not bothering with the light kit. But I’m going to light it anyway. That’s something I found annoying all the extra stuff you have to get to make your model that much better. Why not put that effort into the original model? Then leave the extras to the Garage Kitters to offer. The model and extras will run over $400.00(if you get them all), at one time you could have gotten an MR E in the $500 range(free shipping) then you didn’t have to build a thing.
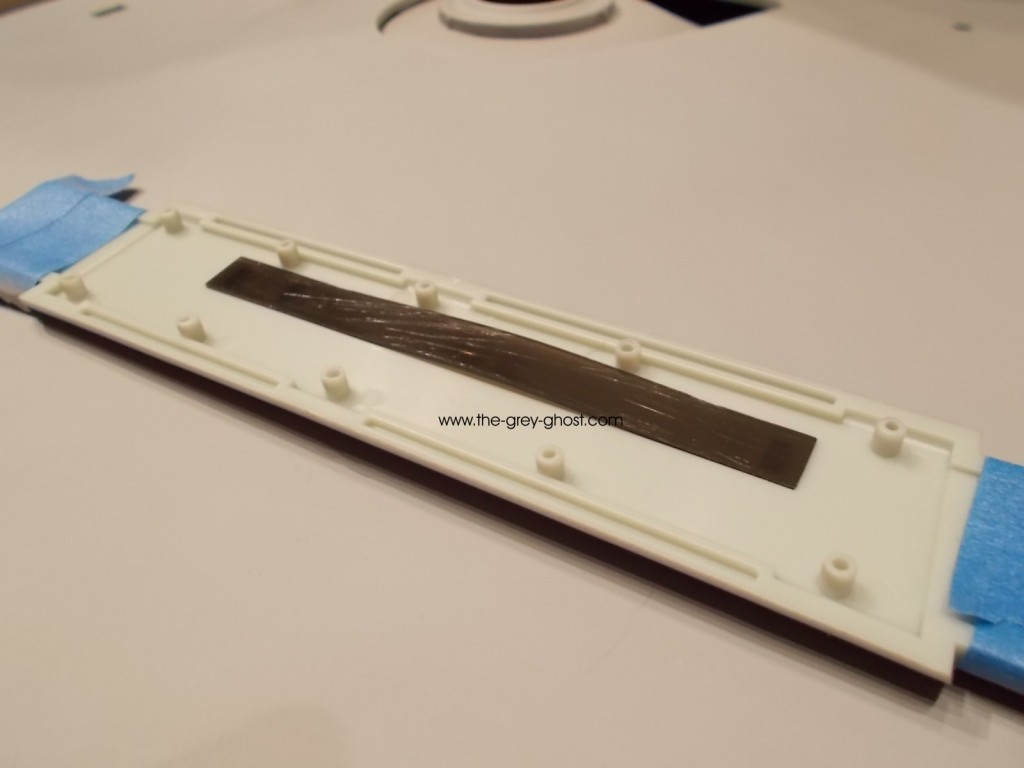
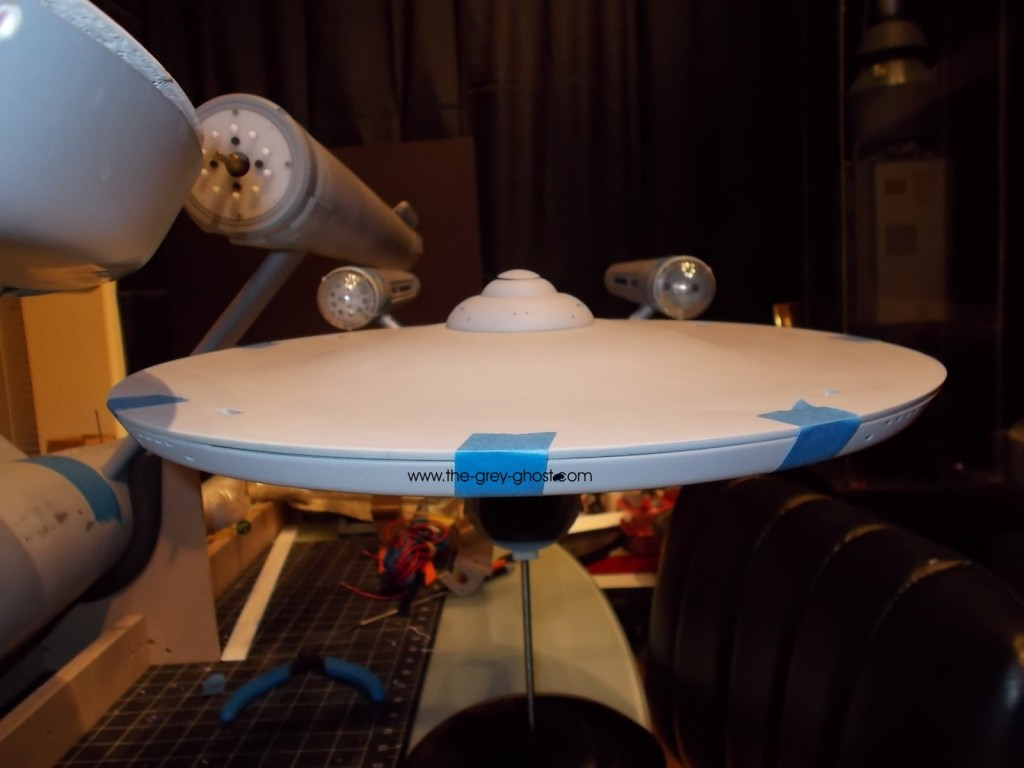
OK, so I’m putting out all of this criticism. So to put my money where my mouth is. Yes I’m building this kit. I do have some experience fixing model kits. Plus I have a much easier way to get rid of the grid.
See no grid, Steve will be very happy. Smooth E’s are the best E’s.
The verdict, it’s a build-able kit. The grid is it’s biggest issue. If you want anything resembling an accurate model it has to go. The spinners are the next issue, along with the shuttle bay. The model is straight in a dry fitting(I wasn’t expecting that). I wouldn’t recommend it for a novice, but then it’s not priced at a novice level.
For R2 to keep to form they have to screw something up. I haven’t seen a kit of theirs that didn’t have some issue. It’s too bad these guys do not consider garage kit maker’s techniques in designing kits. They would save a lot of money in producing these models. Like not having to make the molds for so many windows?

