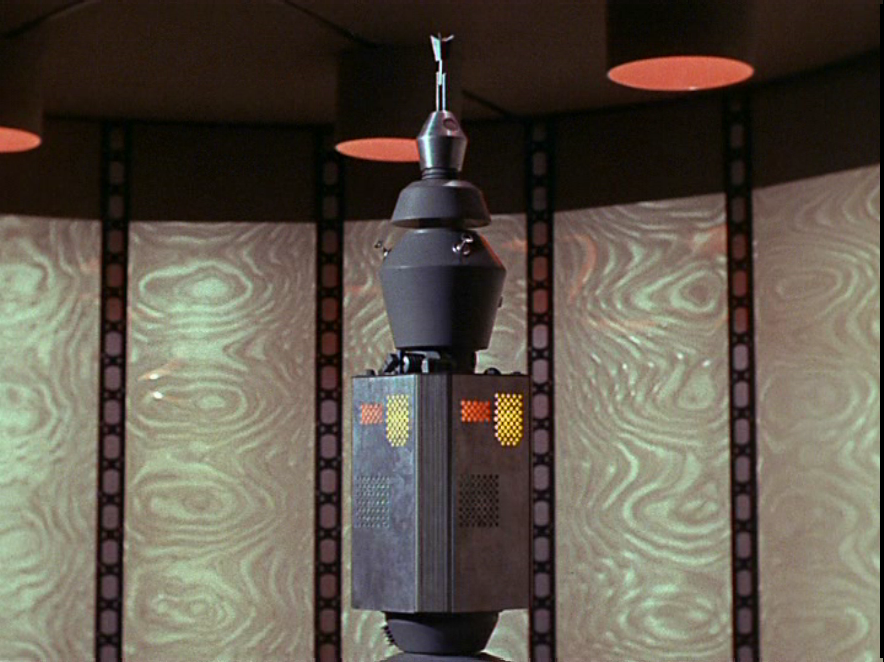
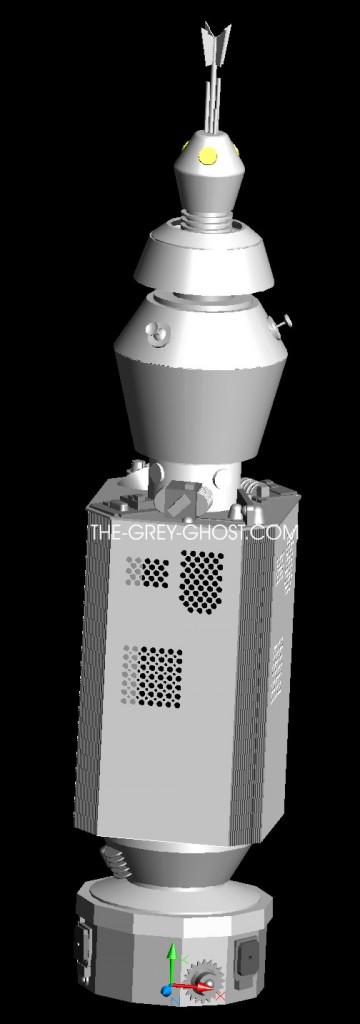
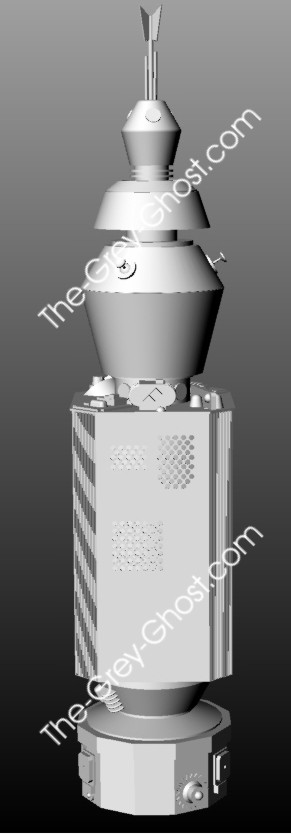
I’m sure you guys remember this prop.
I did my best to recreate the prop back in 2005.
This was the result.
The effort was exhaustive, I used only screen caps of the prop. If I saw a part in at least 2 different scenes it ended up on the model. This is a very hard process especially since there is no way to get any actual measurements of the prop. I assume the prop was cannibalized/destroyed and is now somewhere in the bottom of an LA landfill. So it’s all guess work from start to finish.
Where do you start?
One thing a lot of guys do is go by the, “fraction over one meter” Spock stated. That line is about as nebulous as you can get, it’s of no help. I would not recommend using it, your prop will be undersized.
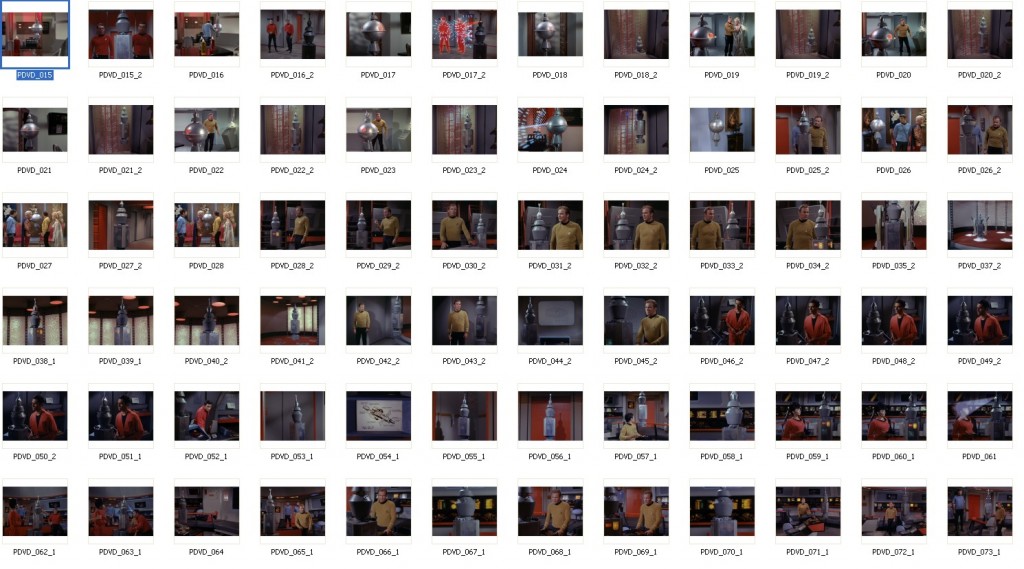
Reference. You get pics galore, every time the shot changes you get as many screen grabs as you can.
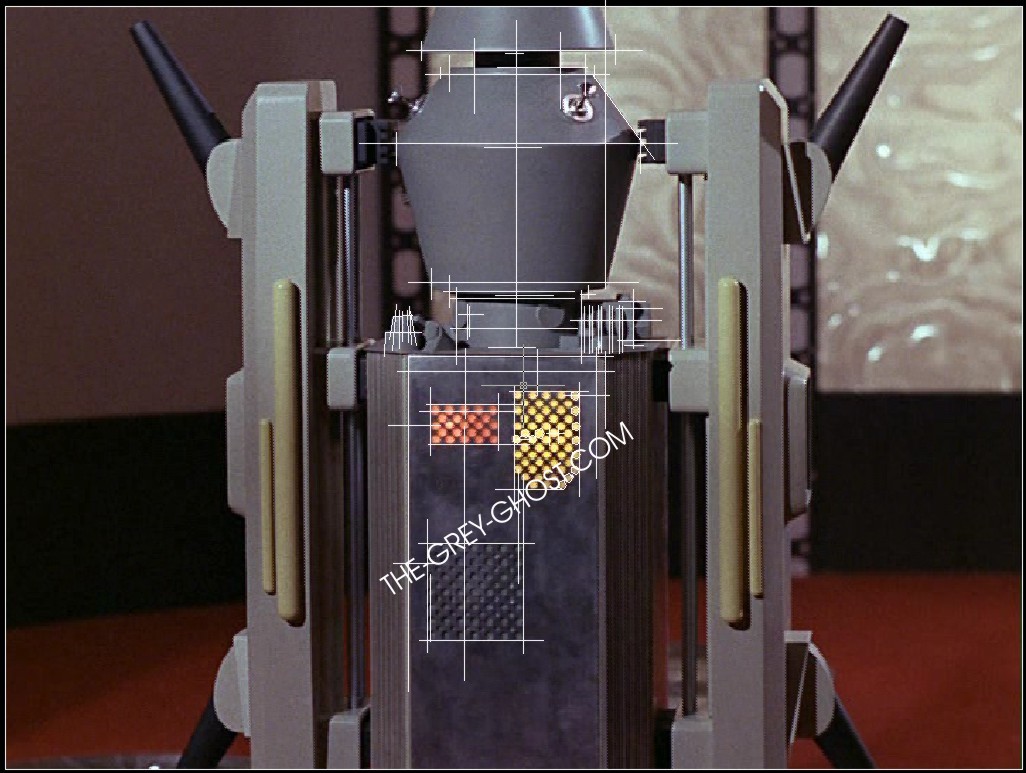
It does get a little tedious, but it’s the only way to get what your looking for(this is only a part of my screen grabs).
But once you have something to work with. I can say it’s easier and harder at the same time. These screen grabs are from the DVD, I think that’s all that’s necessary. The STTOS props were simple when compared to the later movies/series. If you look at something long enough your going to see things that are not there. That’s why I have a rule of seeing a part in at least 2 shots. The eye will play tricks if your not careful, and I’ve seen a lot of guys swear by stuff that isn’t there(and not just in this hobby).
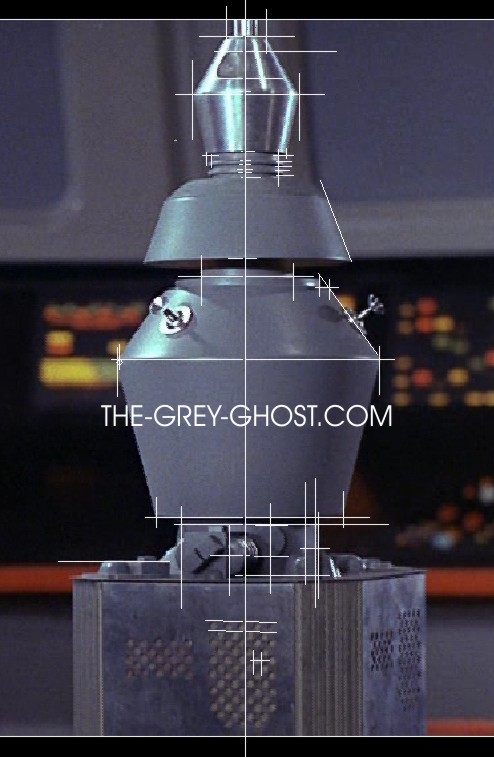
First thing I do is import images into Autocad. Then I select a part and make an educated guess as to how big it is.
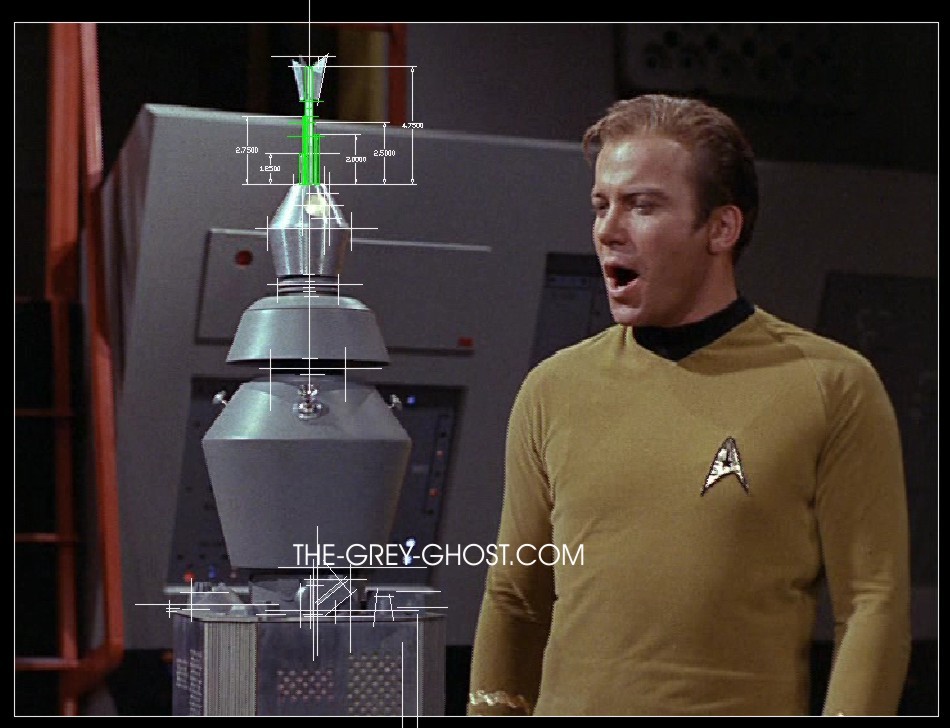
I eventually came up with 3″, it’s the part below the crown and above the head. From there I have to guess everything else, I try to keep the numbers as even as I can. Other things I’m looking for are angles and part relationships. This part is hard to get right, these props are almost never photographed head on, even if they are then the camera can distort things. What I do is look for straight lines then play with the perspective.
With all apologies to Bill Shatner, sometimes you catch some funny stuff.
But once you establish a center-line on the prop, things can get a little easier. But it’s still all guess work.
One of the nice things about being able to place an image in CAD, is being able to draft right on top of it. It makes life a lot easier than having to translate between mediums.
All the while I’m going over images I’m creating a base model.
Which looks like a total mess. 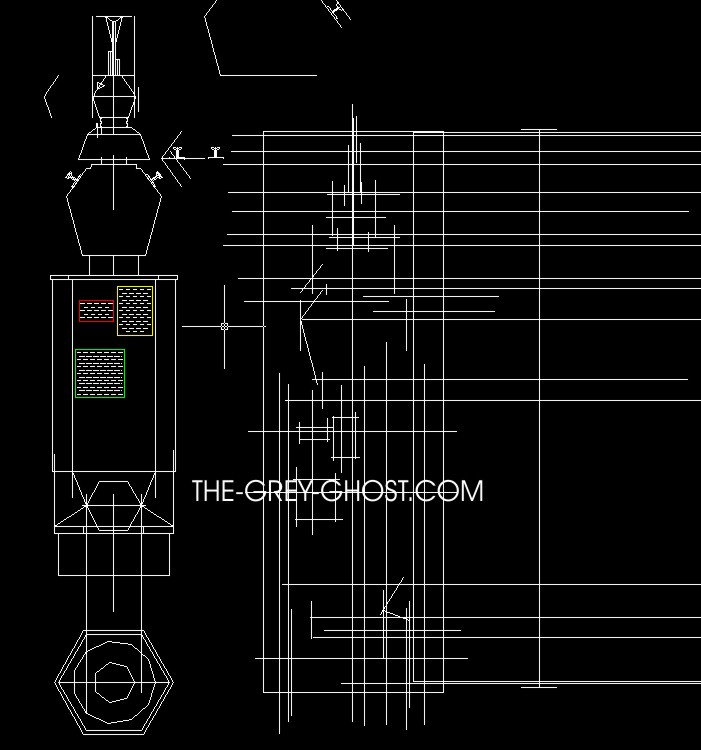
That’s how these things come together, at least for me.
But the end result is worth it.
Now I have something to work with.
But once I have a CG model, the work is only just beginning.
This model is destine for 2 things.
1, A set of plans for others to follow.
2, A full scale model for myself.
The plans got around, that’s why I made them.
There is good and bad with sharing such work. Some are very happy and appreciative to see such work, while others seek it out for personal gain. I learned my lesson on this one, while it’s very high and noble to share, that usually isn’t what happens. Those who seek personal gain are the only one’s who get to profit off of others good will.
Since I made the plans in 2005, I’ve been wanting to update them. Since I came across new info.
I did make one request for those who use the documents(plans). I wanted pics of your work, to date I haven’t received a thing. But I have seen plenty of you using my plans.
There is more to come(I’ve got to show you guys the finished prop).

