Lets start with a video.
Here is two Bussards from the Custom Replicas 66″ E kit. The one on the left is from a built-up CR 66″ E. The one on the right is from my kit(running at top speed on 12 volts). Note the difference in the sound from each of the Bussards. It’s quite a difference isn’t it.
I was contacted by the owner of the built-up Busards, he asked if I could do anything about the noise, I will call him Tiberius.
Tiberius told me they were making a grinding noise, which to anybody mechanically inclined knows that’s not a good thing.
Tiberius asked me if I could fix his Bussards.
I said sure the fix is a bit of work, but it’s relatively easy.
When I assembled the supplied parts with my kit(just to see if the motor would work). It ground away. Making the very noise Tiberius described. Now I was quite surprised to hear that a built-up model was having this issue. After all Custom Replicas made the kit, shouldn’t they know the tricks to making it work. After all spending over 5 figures for a model one would expect something of quality.
Well I guess not.
The source of the problem-
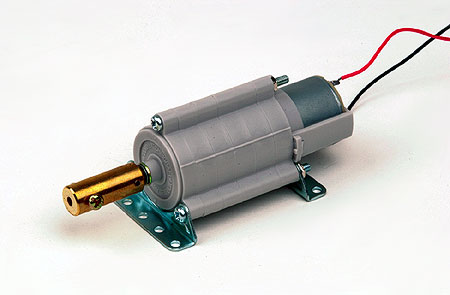
The Tamiya planetary gearbox motor. Now this motor would be fine in other applications. But with the Enterprise it’s not the best choice you could make. First off it’s a kit, you have to assemble it with the options you want. But those are plastic parts(the supplied lubrication is inadequate, and the plastic parts will wear faster), and there isn’t any decent bearings to support for the center shaft. Thus the shaft will wobble and droop down(due to gravity). It’s the worst choice for this application, and it isn’t the cheapest choice(We in engineering add time as well as materials, plus at a price tag of $14.99(and you have to put it together) vs. $12.95(plus shipping) and it comes assembled, which would you rather do?).
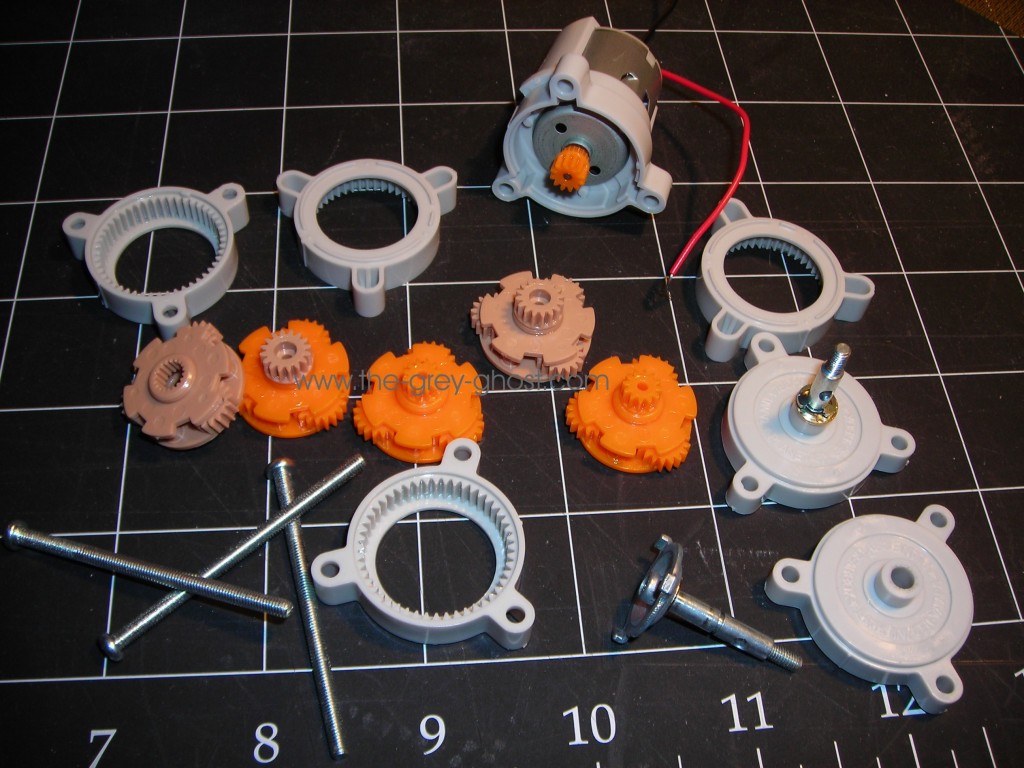
Here is some of the innards, it’s not complete but it does show all of the primary parts.
Those plastic parts are the source of the noise. The Tamiya motors are not professionally assembled and the parts are not precise enough for quiet operation.
Plus there is another problem.
If you look closely at the spinner you will see some particles. These particles/dust comes from somewhere. What produces it? Read on.
This pic was taken by Tiberius, it’s the inside of the outer dome of the Bussard. It concerned me greatly, you will notice the same dust near and on the lip.
Here is one of the spinners. It has similar evidence of rubbing around the lip.
This indicates the problem I mentioned before, the center shaft of the Tamiya motor isn’t capable of keeping the spinner in true alignment. And to compound the problem, the spinner is to big for the application. Plus it’s sitting at an end of a shaft increasing the amount of movement. A cantilever if you will. 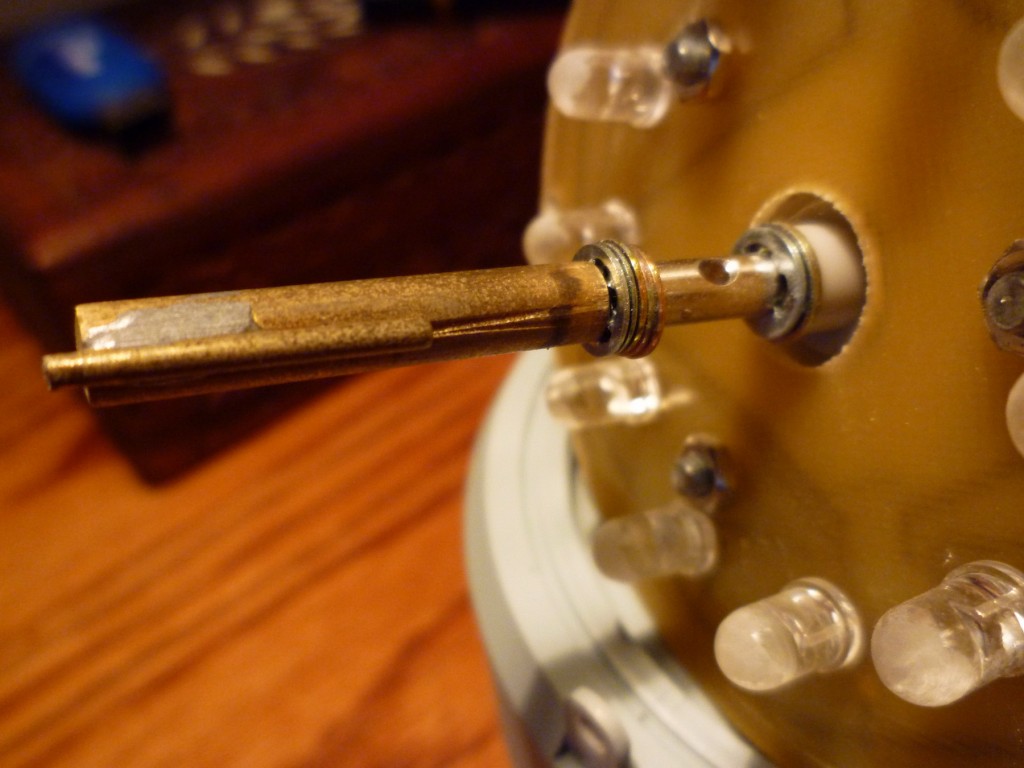
Here is the shaft to give you a better idea. The whole thing was poorly conceived, especially for such an expensive model. It’s even harder on guys like Tiberius since he paid for a build-up.
The fix?
Like I said it’s simple, but it is a bit of work.
Step one,
Replace the Tamiya motor, you will never get it to work without a lot of problems.
Two,
Replace the spinner, it’s to large to work without difficulty. The system as specified doesn’t have the precision to keep the dome in place.
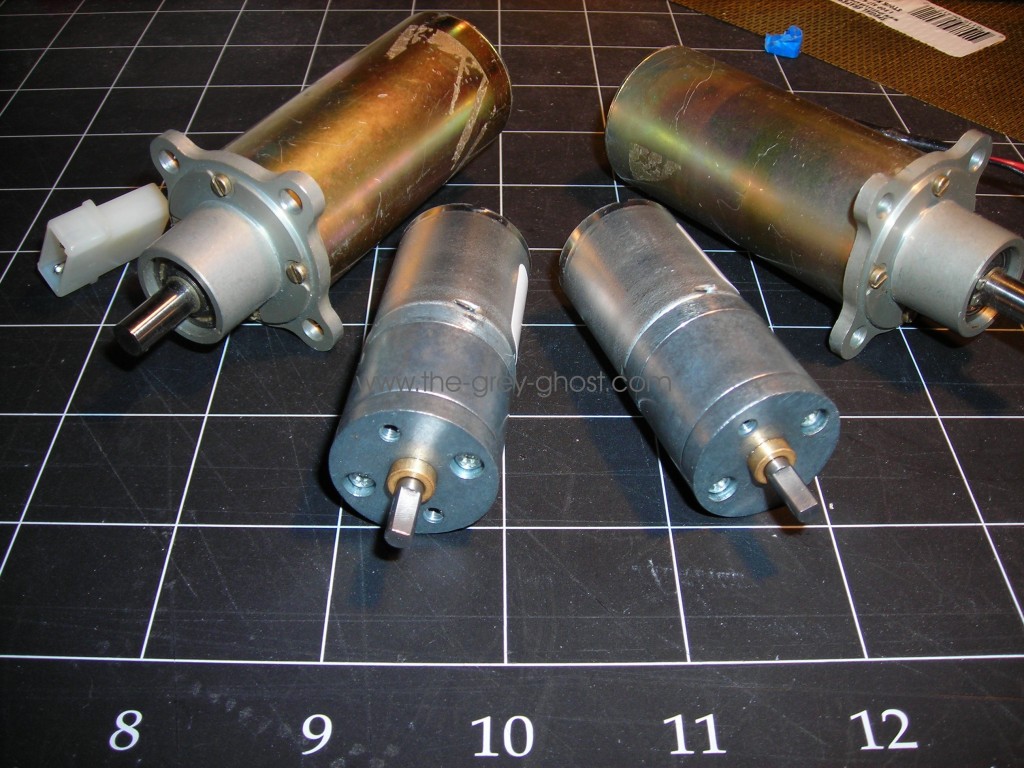
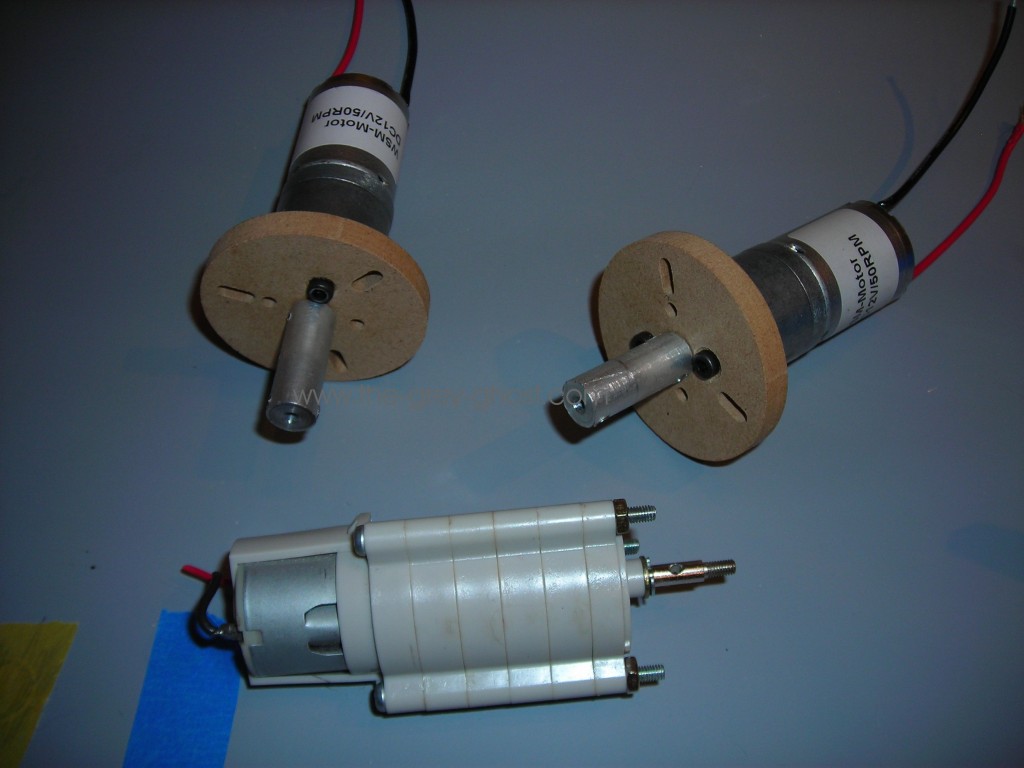
I replaced the Tamiya motor with these(the grey motors in front). They are 12 volt but they will still spin on 5 volts, which gives Tiberius some future options.
To anybody well versed in electronics I have a question for you. If you can please contact me via e-mail.
When replacing the Tamiya motor, you can’t just swap the motors. You have to make some modifications.
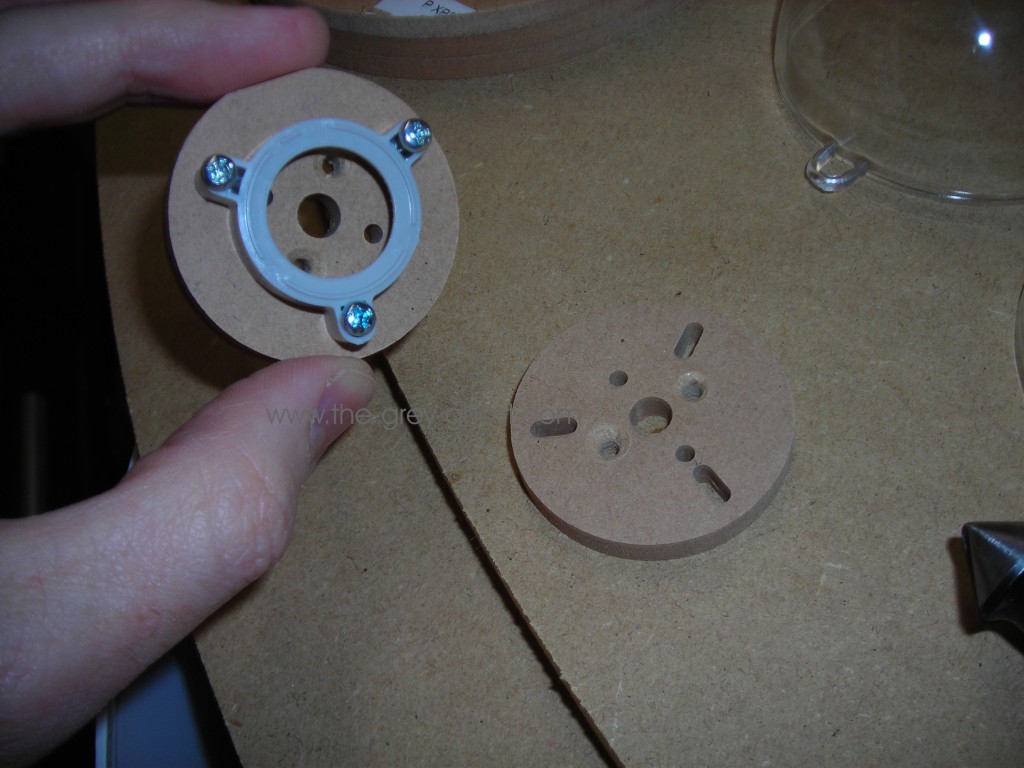
These are the motor mounts. They work with the existing set up. The slots allow for some slop in the mounting, but since it’s only three points they line up easily.
But making motor mounts isn’t all that’s needed. The motor needs to be able to couple to the spinner shaft. See the aluminum shafts on the front of the mounts. Those are the couplers, I had to fabricate/machine them since I couldn’t find anything that would work. (just an aside, I copied the coupler that comes with the Tamiya motor. You guys with the CR E kits can use those.)
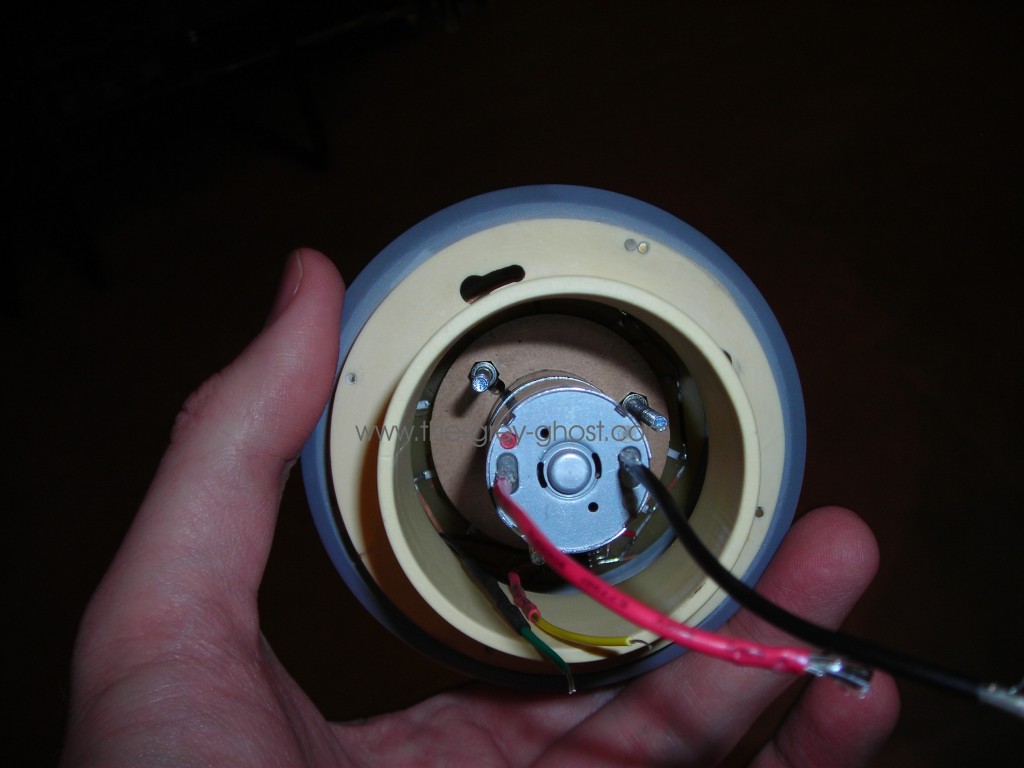
Here is the motor mounted in place, I used 1/4 inch spacers on the screws(the screws were cannibalized from the Tamiya motors), and I used some old nuts for additional spacing(it takes less time than machining new ones). I did take care to make sure each nut was the same size(within a thousandth). Sorry I do not have any pics of the setup. I used nylon spacers against the circuit board since they are nonconducting. Unlike the steel nuts CR used.
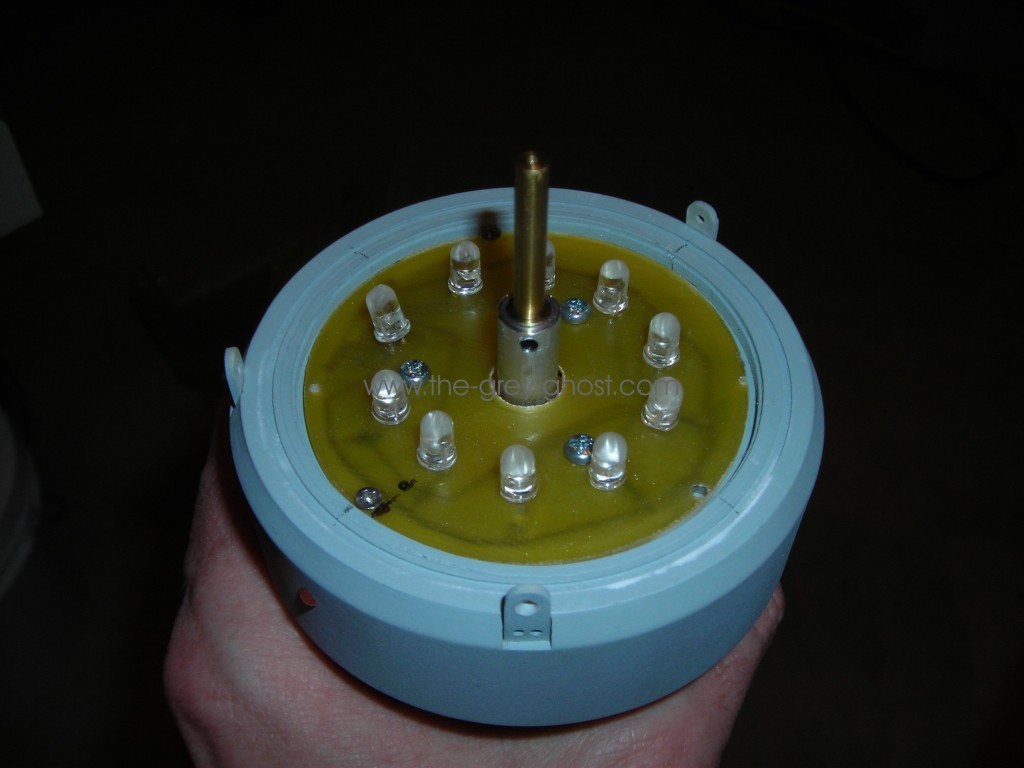
Here is the other side, as you can see everything is well spaced. I tried to use as much of the existing setup as is reasonable. To mount the brass spinner shaft to the coupler I cut one of my Tamiya screws(used to hold the Tamiya motor together, I didn’t use Tiberius’s screws). It’s thread is the same size as the thread in the brass spinner shaft. I used a little Loctite to keep the shaft from backing out(Loctite is used to bond threads together). See the hole in the coupler just below the spinner shaft. That’s for a set screw, there is one on each side, and they are on the opposite side of the coupler as well(on the other side of the circuit board). They are used to hold things in place.
Now for the spinners.
I have to say the CR spinners are impressive. But for the reasons I stated previously, they can’t be used.
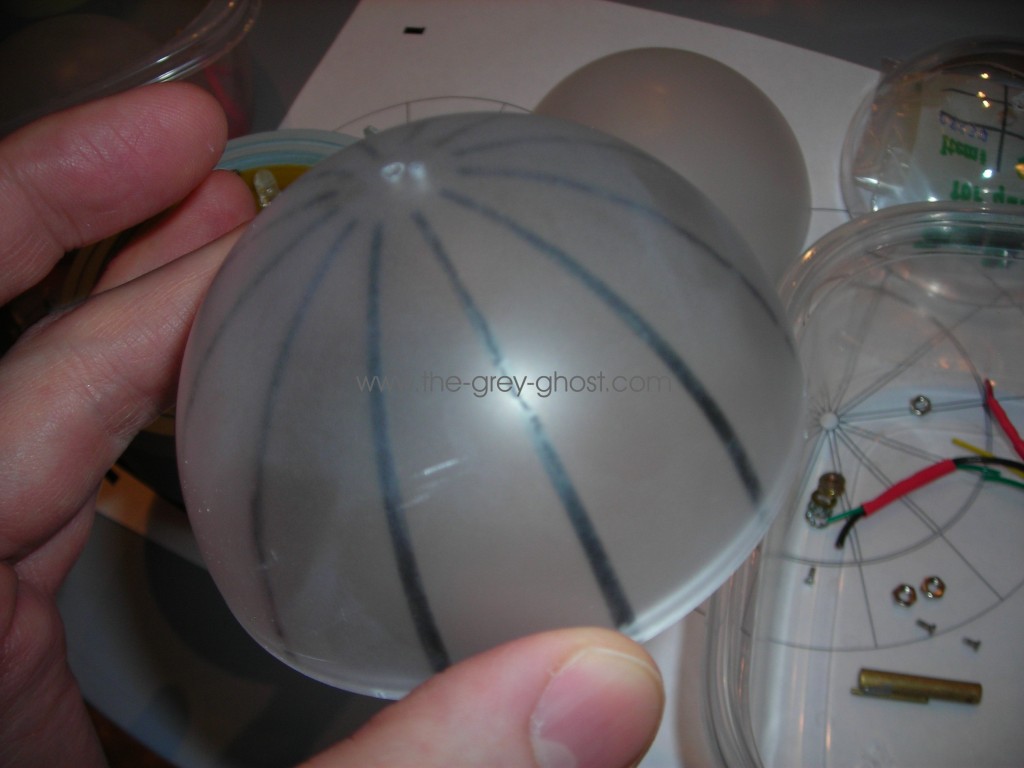
So here are the replacements.
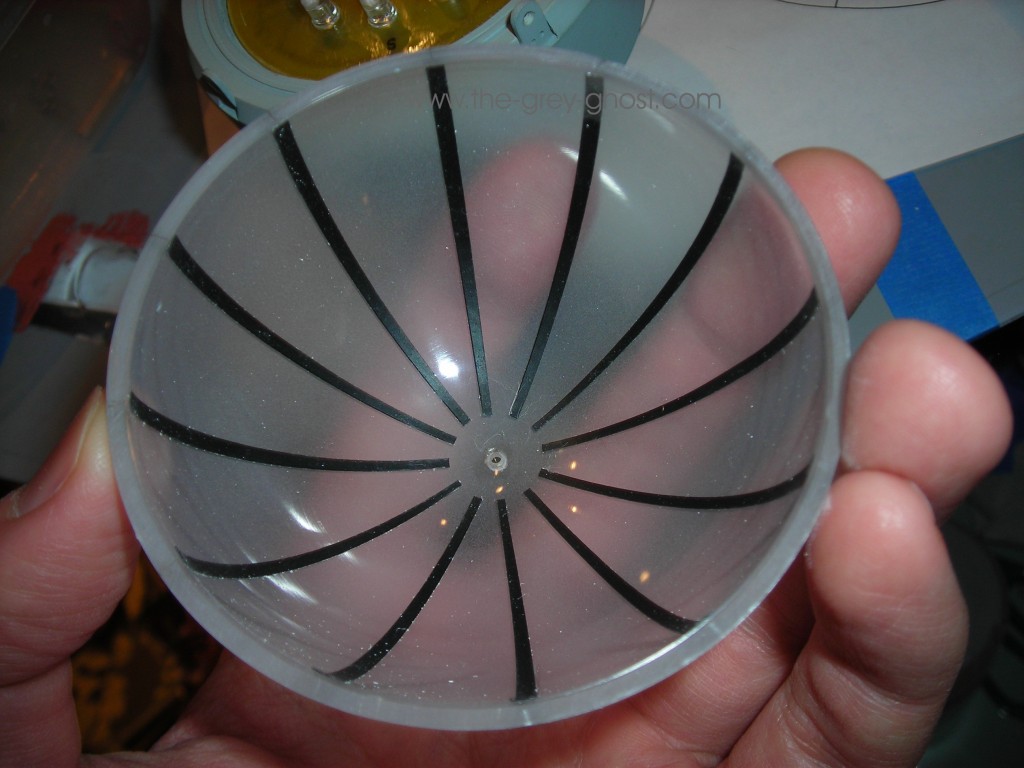
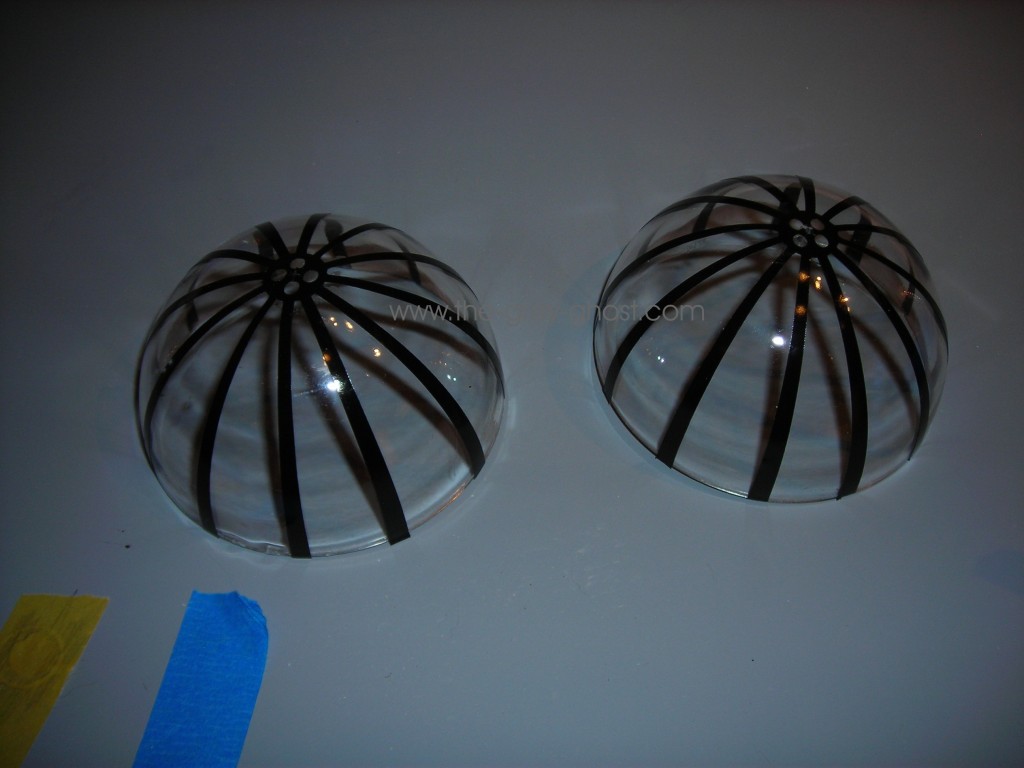
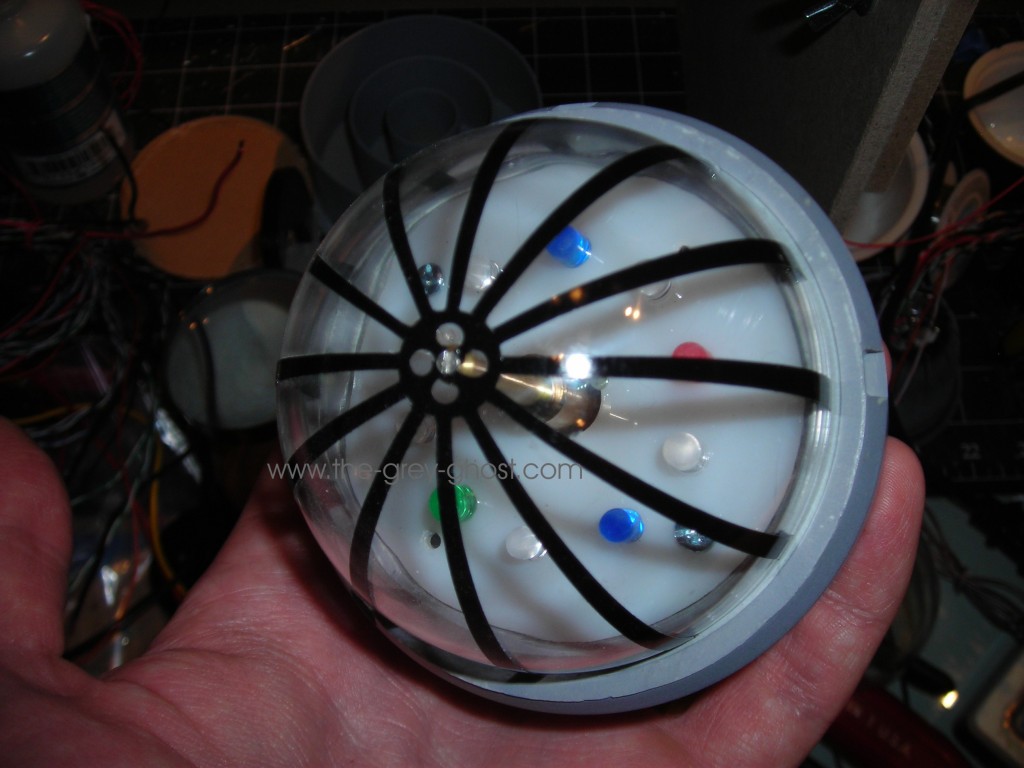
Yes they are different, nor are they frosted(not yet). I had a heck of a time with the blades. I showed Tiberius this pic(I can make the original setup).
He said that’s cool I want that. This is one of my spinners, I know it’s not accurate but the center was very obvious with the leds on. So this is an attempt to rectify that.
The replacement spinners are, “80 mm Clear Ball Ornaments”. 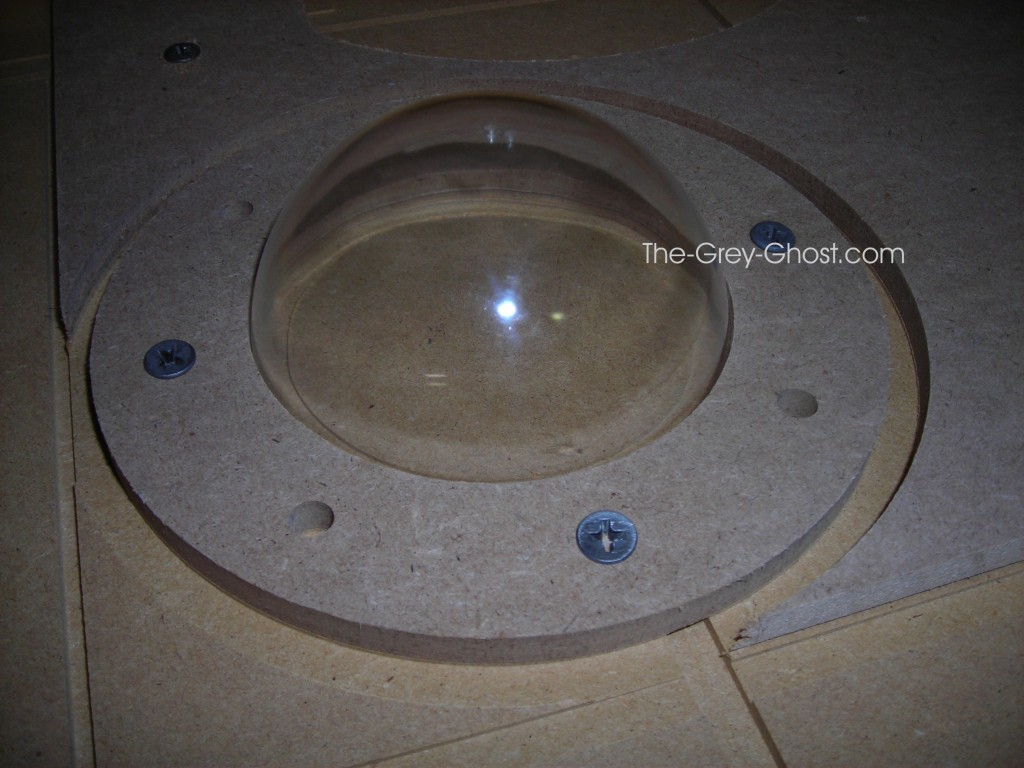
I use my router to apply the center-holes to the spinners. It can do a better job far faster than I could do by hand. I then remove the lip on the ornament. I then use the centerhole to apply the blades, they are vinyl with the center indicated for easy placement(using blue tape). Using the smaller domes allow for any slop in the system, and they would look the same. Without all of the noise and mechanical difficulties.
The rest is a cake walk, I used Rust-Oleum’s “Frosted Glass” to frost the spinners.
And I make sure the domes are not contacting the Bussard housing(that’s important).
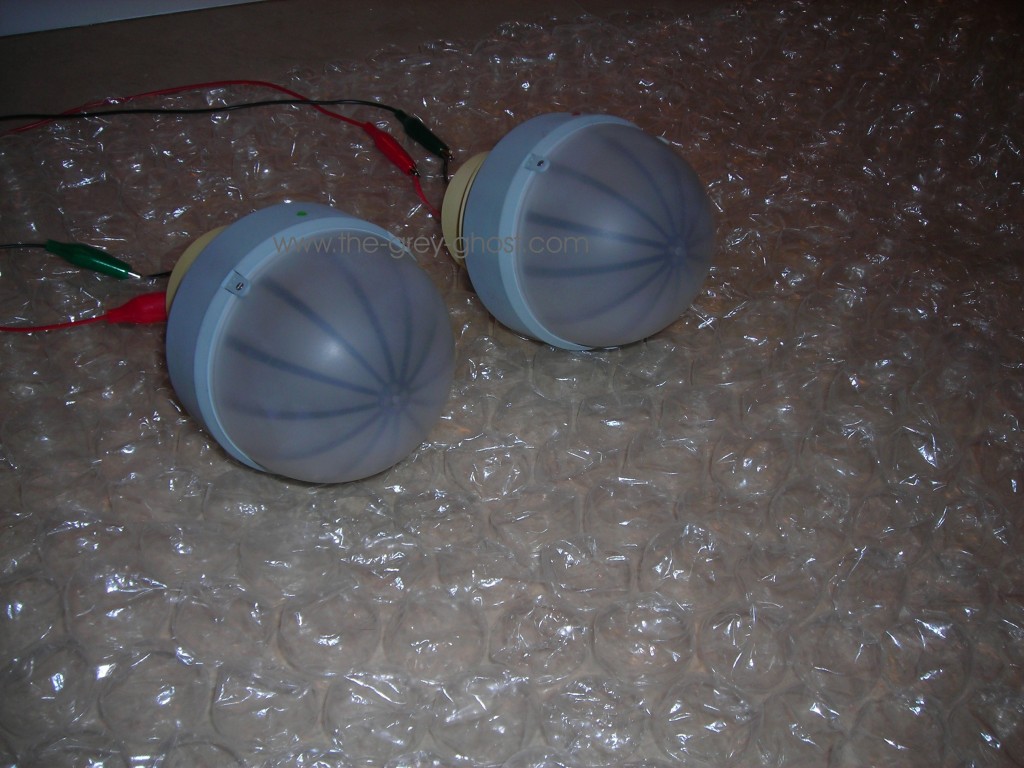
Here they are.
A lot quieter aren’t they. Which was the point of the exercise. Like I said they are running on 5 volts, which makes the E look like it’s idling. In case your wondering, I didn’t power up the leds. I’ve had bad luck with that sort of thing(I’m sure most of us have), so I didn’t want to risk Tiberius’s E(he said he’s had enough trouble with his E’s electrical, I didn’t want to add to it).
That’s all for today. I hope this is of some help for you guys that own this kit.
As always there is still more to come.
Questions? Comments?
Update: Tiberius got his retrofitted Bussards, and is very happy with much less noise in his life. He commented that the 66″ E is much quieter than the Master Replicas E.


Max mind with scratch build with the same motors you recommended is quiet enough and actually sound nice for motor noise. the over version sound like a garbage disposal!
I also like your cages better than there’s and plan to re due mine!
Glad to see you’re still at it!
Steve
Funny, Tiberius said the same thing. I would have shown both of the Bussards. But the other one failed, it made far more noise than the other one. I guess the shipment took it over the edge.